How To Connect AirPods To An iPhone: Step-By-Step
Connecting AirPods to iPhone is more than four words as the process comes with multiple levels of steps to be followed before you step into Apple's seamless audio experience. Here is an easy guide on How to Connect AirPods to an iPhone.

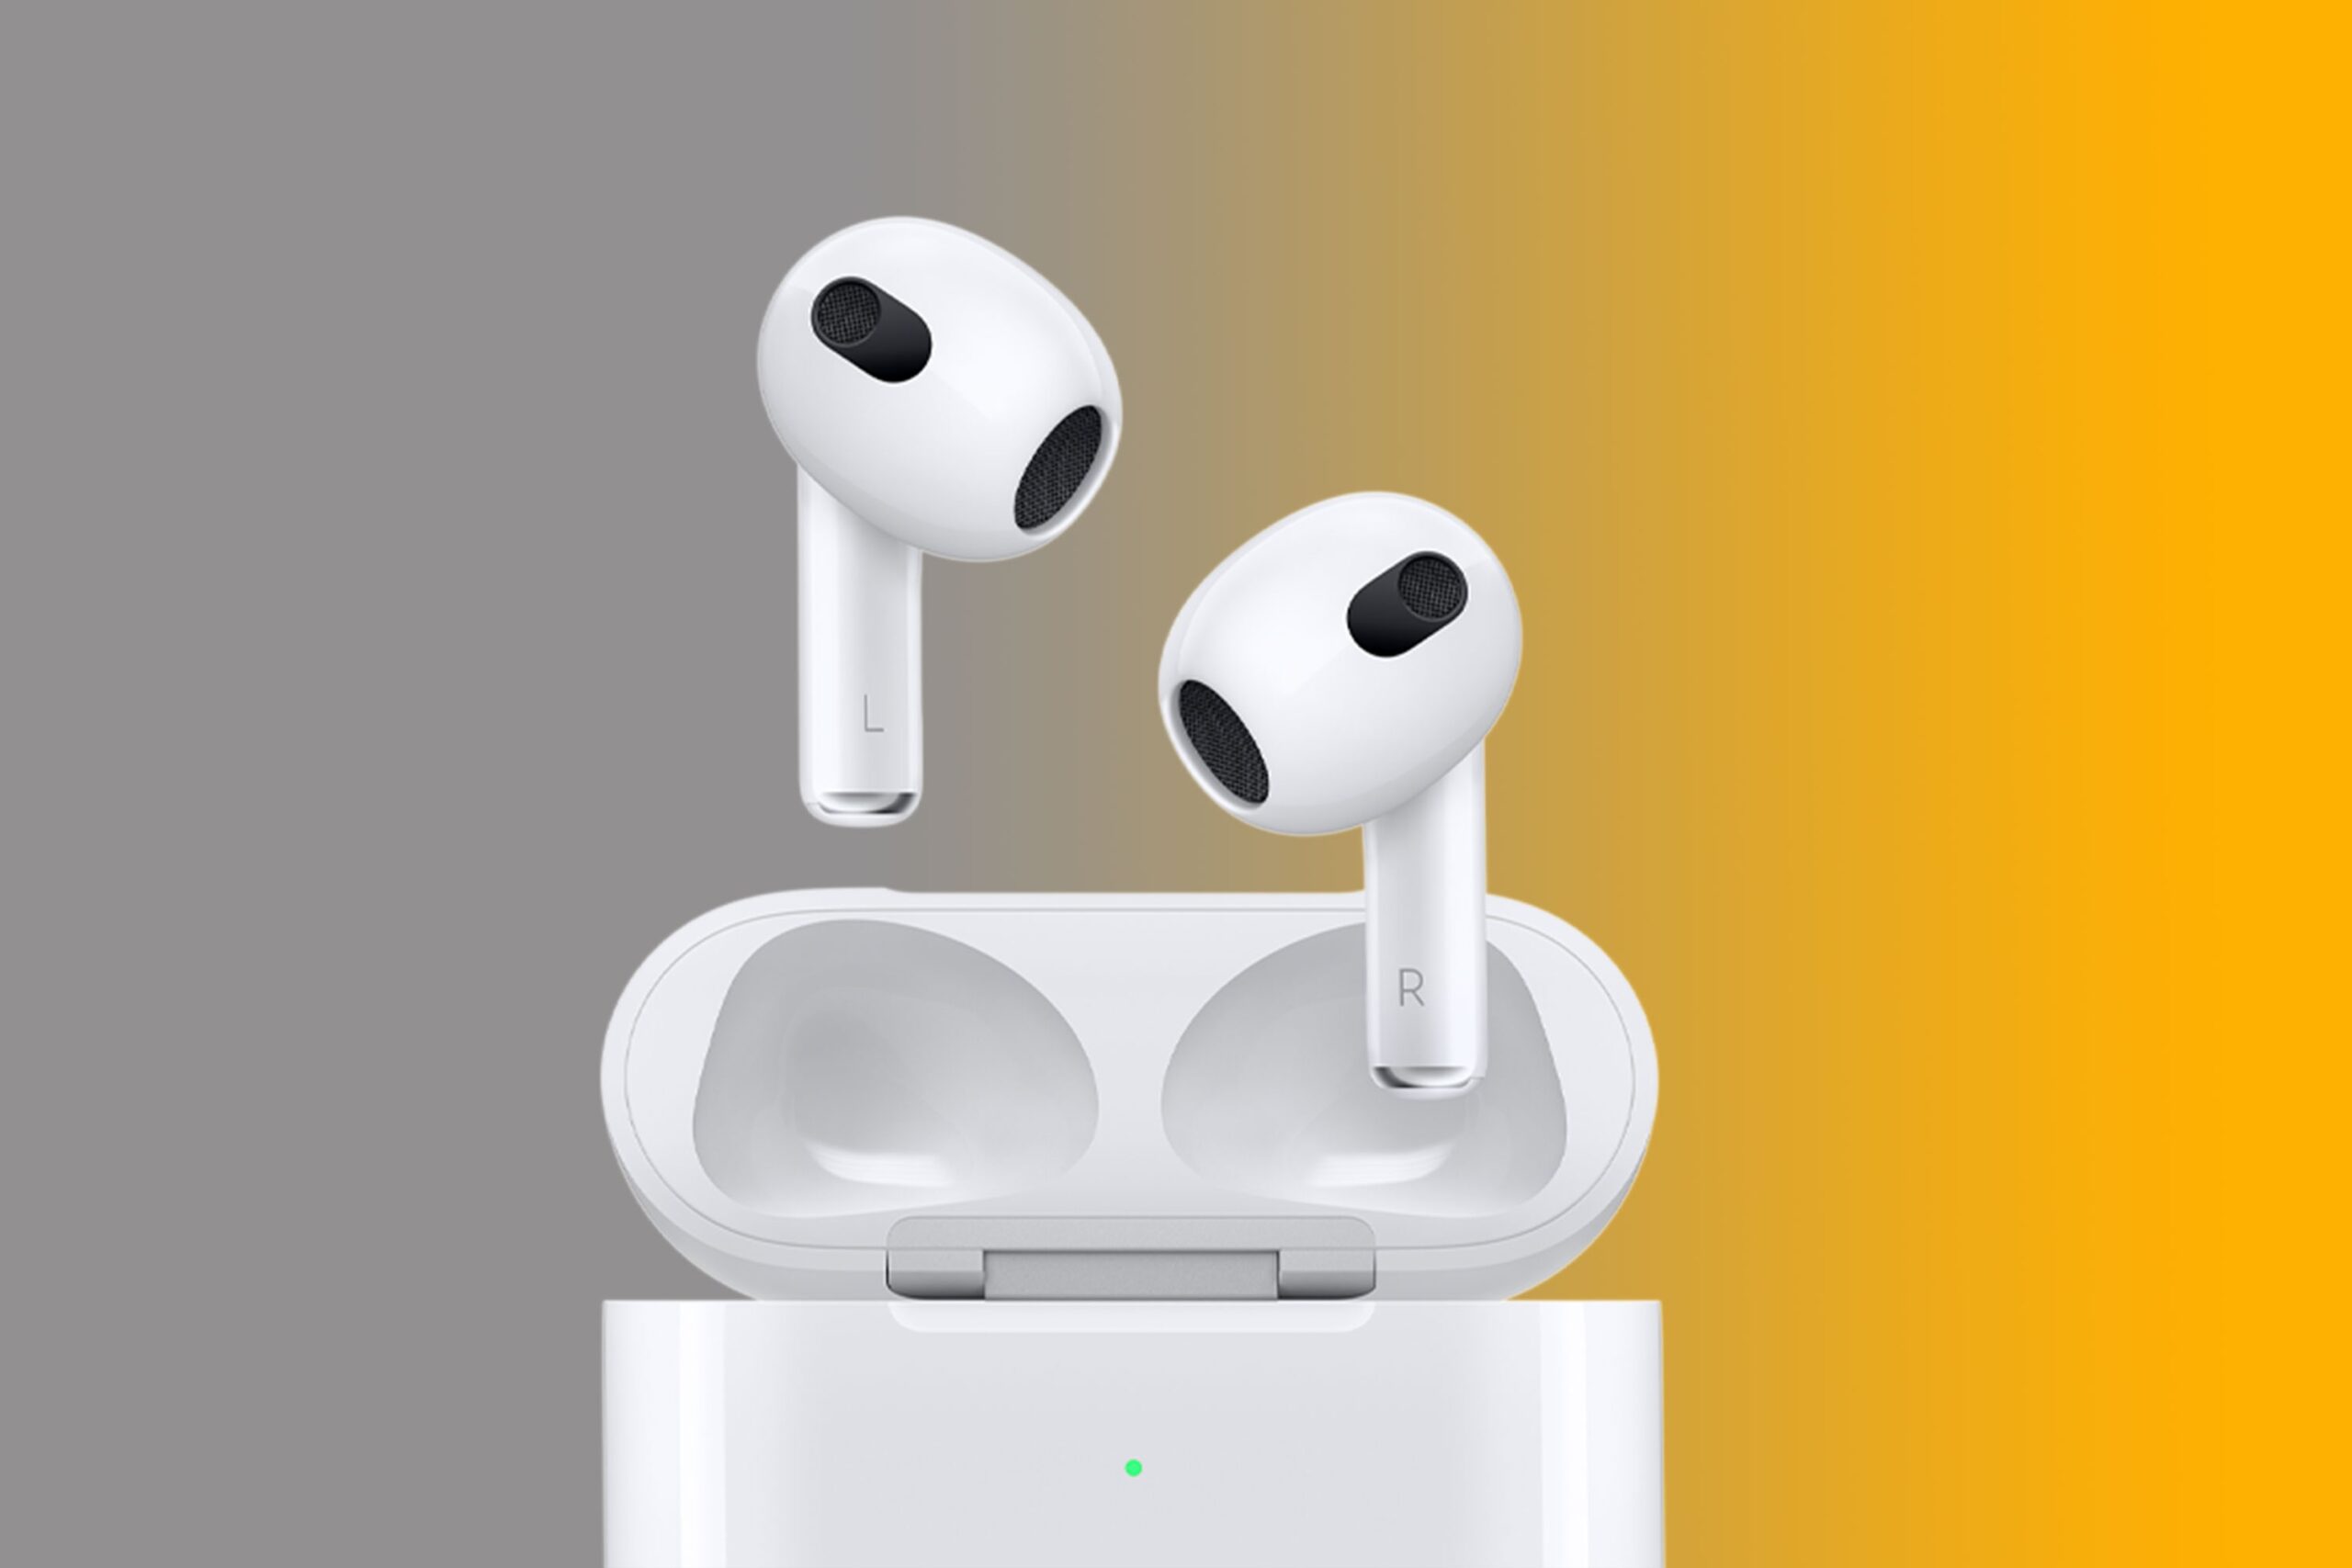
Apple’s much-celebrated audio accessory named AirPods is the new wireless addition to the Apple ecosystem. While dedicated iPhone users can’t wait to get their pairs of AirPods on and let the music flow with the freedom from the wired mess, which might come with the measures. In this post, you will see an easy and quick guide on how to connect AirPods to an iPhone.
Connecting AirPods to an iPhone is more than four words, as the process comes with multiple levels of steps to be followed before you step into Apple’s seamless audio experience. To have you sorted, here we break down the AirPods-to-iPhone connectivity process step-by-step.
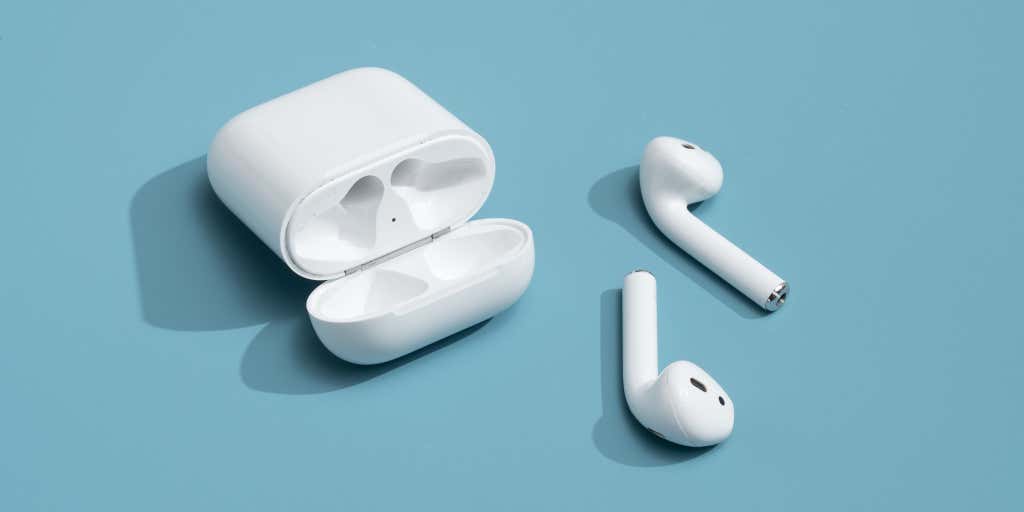
Connecting AirPods to an iPhone or iPad is an easy process, but it does take some time to get used to, with different but simple steps. Here is your guide to setting up the connectivity between AirPods and iPhones with ease.
Whether you have AirPods or AirPods Pro, make sure you have your iPhone updated with the latest iOS and your AirPods charged enough; then we are good to go. As there is more to do with AirPods connectivity than just connecting them with your iPhone for the first time, we have got you sorted out with all the AirPods-to-iPhone connectivity steps right away.
Table of Contents
Now, let’s dive into the Guide.
Step 1
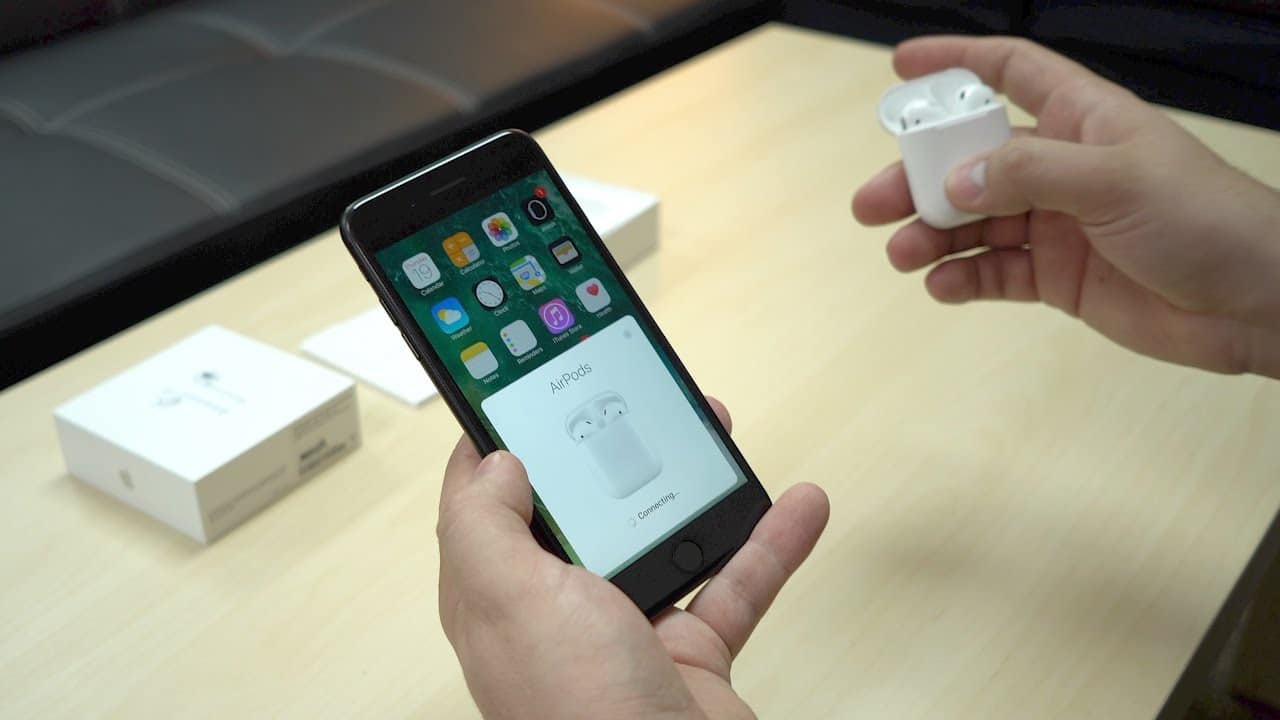
Take your AirPods charging case with the AirPods docked inside properly. Make sure you have your desired iPhone closer to the AirPods charging case and unlocked.
Step 2
Make sure your iPhone has Bluetooth that the Bluetooth is ON [SETTINGS > Bluetooth > My Devices].
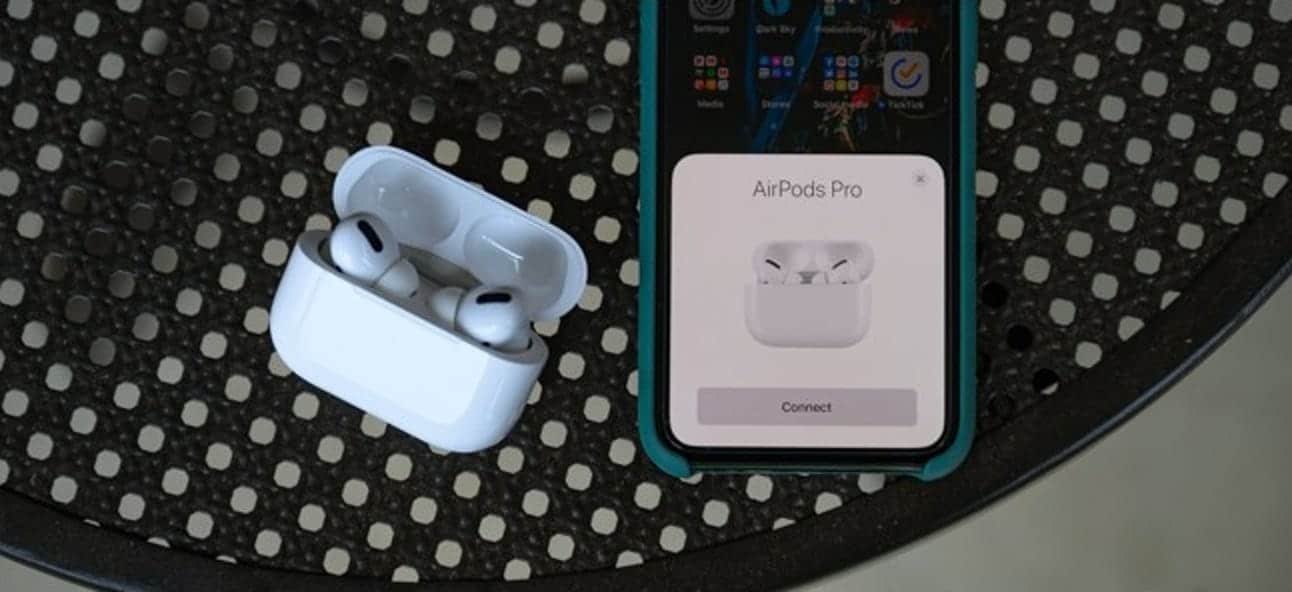
Now unlock the iPhone, keep the screen awake, and open the lids of the AirPods charging case. Apple’s H1 chip will automatically detect the available device by popping up an on-screen notification.
Step 3
The “CONNECT” button with a picture of AirPods and a Bluetooth logo is displayed on the screen. Tap on the “CONNECT” button, and the process will be initiated with a “Connecting…” notification for the moment. Your AirPods will be connected to your iPhone just like that in a moment.
Step 4
In case you don’t have them connected seamlessly in just one go, AirPods (2nd/3rd Generation) and AirPods Pro users can hold the button on the back of the charging case for a few seconds to make sure of the connection with the iPhone. AirPods Max users just need to press the Noise Control button available on the right earcup, holding the AirPods as close to the iPhone.
Step 5
If the AirPods are already connected to some other device, your iPhone will display the notification “Not Your AirPods”. To continue, tap “Connect,” and your device will navigate you through the process. Soon after the process finishes, tap “Done”. Congratulations, now you are good to go with your AirPods to enroll in the ever-celebrated Apple audio experience.
As soon as the AirPods connect with your iPhone, it adds your iCloud profile to all the Apple devices in the ecosystem with the same Apple ID. That will make your AirPods automatically pair with other Apple ecosystem devices such as iPad and iMac seamlessly.
Moreover, you can control your AirPods with the help of the “Control Center,” which adds more customization and easy adjustments for users. It makes the noise cancellation and transparency settings available at your fingertips.
To control your AirPods while connected to the iPhone, pressing once on either AirPod will play/pause, twice to skip forward, and three times to skip backward.
To access the Noise Control feature on the go, press and hold on for a moment on either of the AirPods that will help you switch between Noise Cancellation and Transparency.
Also Checkout: Microsoft Has Made It Easier To Change The Default Browser In Windows 11