How To Connect HomePod To WiFi
Let's look at how to change WiFi networks on the HomePod mini, as well as how to connect Homepod to WiFi network. If you're interested, we've also broken down how WiFi works on the HomePod mini in layman's words so you can understand it better. You can always use the table of contents to quickly browse through this page.
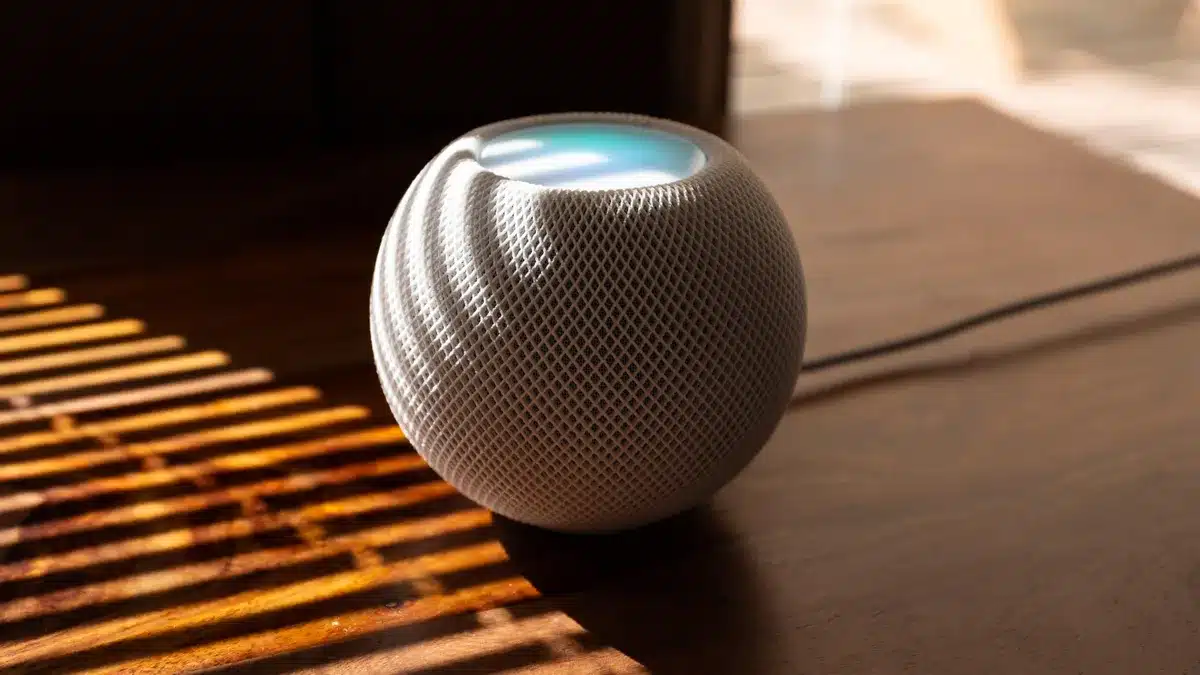
HomePod mini connects to the same WiFi network as your iPhone when you first set it up. This is wonderful since it allows you to quickly get started listening to music, controlling your smart home, and more with your HomePod.
What if you changed your home WiFi network, or if you’re moving towns and need to change your HomePod mini’s WiFi network? Don’t worry, it’s almost as simple as it sounds. Here’s how to get your HomePod mini connected to the internet.
When you set up your HomePod with an iPhone or iPad, it automatically connects to the Wi-Fi network that your iOS/iPadOS device is connected to. This makes sense because the HomePod and your iPhone must be connected to the same network to perform effectively. When you change the Wi-Fi network on your iPhone, however, your HomePod does not immediately update the network.
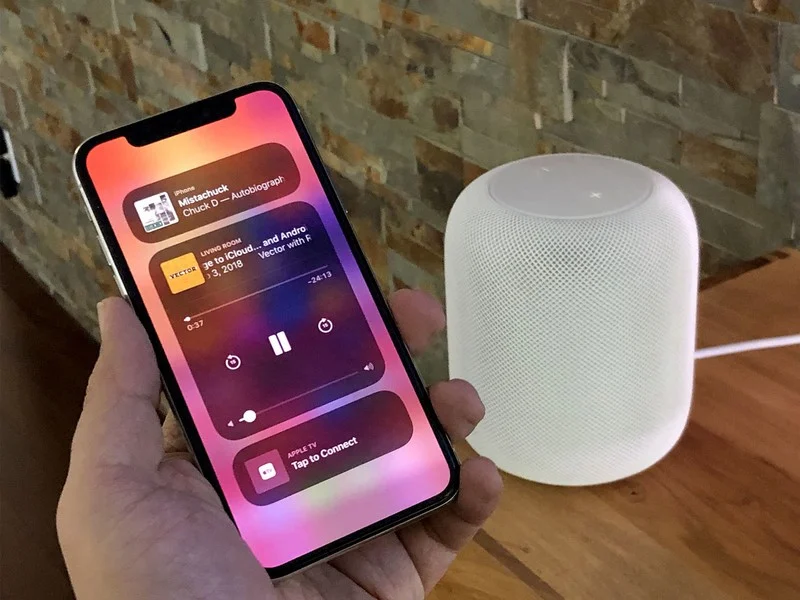
Table of Contents
How to Change WiFi Networks on HomePod
- On your iPhone, open the Home app (or iPad). Next to your HomePod mini, you’ll see an exclamation mark (!) This means that something is wrong with the HomePod’s network settings.
- Hold your finger on the HomePod symbol.
- A notice will appear that says something like “This HomePod is on the WiFi network name> WiFi network, which is different from the network that this iPhone is on.”
- Scroll down to “Move HomePod mini to WiFi network name>” and press it.
Wait a few moments, and your HomePod mini will be connected to the same network as your iPhone or iPad. Isn’t it simple?
Also Checkout: How To Record A Microsoft Teams Meeting
Your iPhone or iPad’s WiFi Configuration Can Be Shared
- Connect your iPhone or iPad to an 802.1X WiFi network before launching the Home app.
- Now press and hold the HomePod tile for a long time.
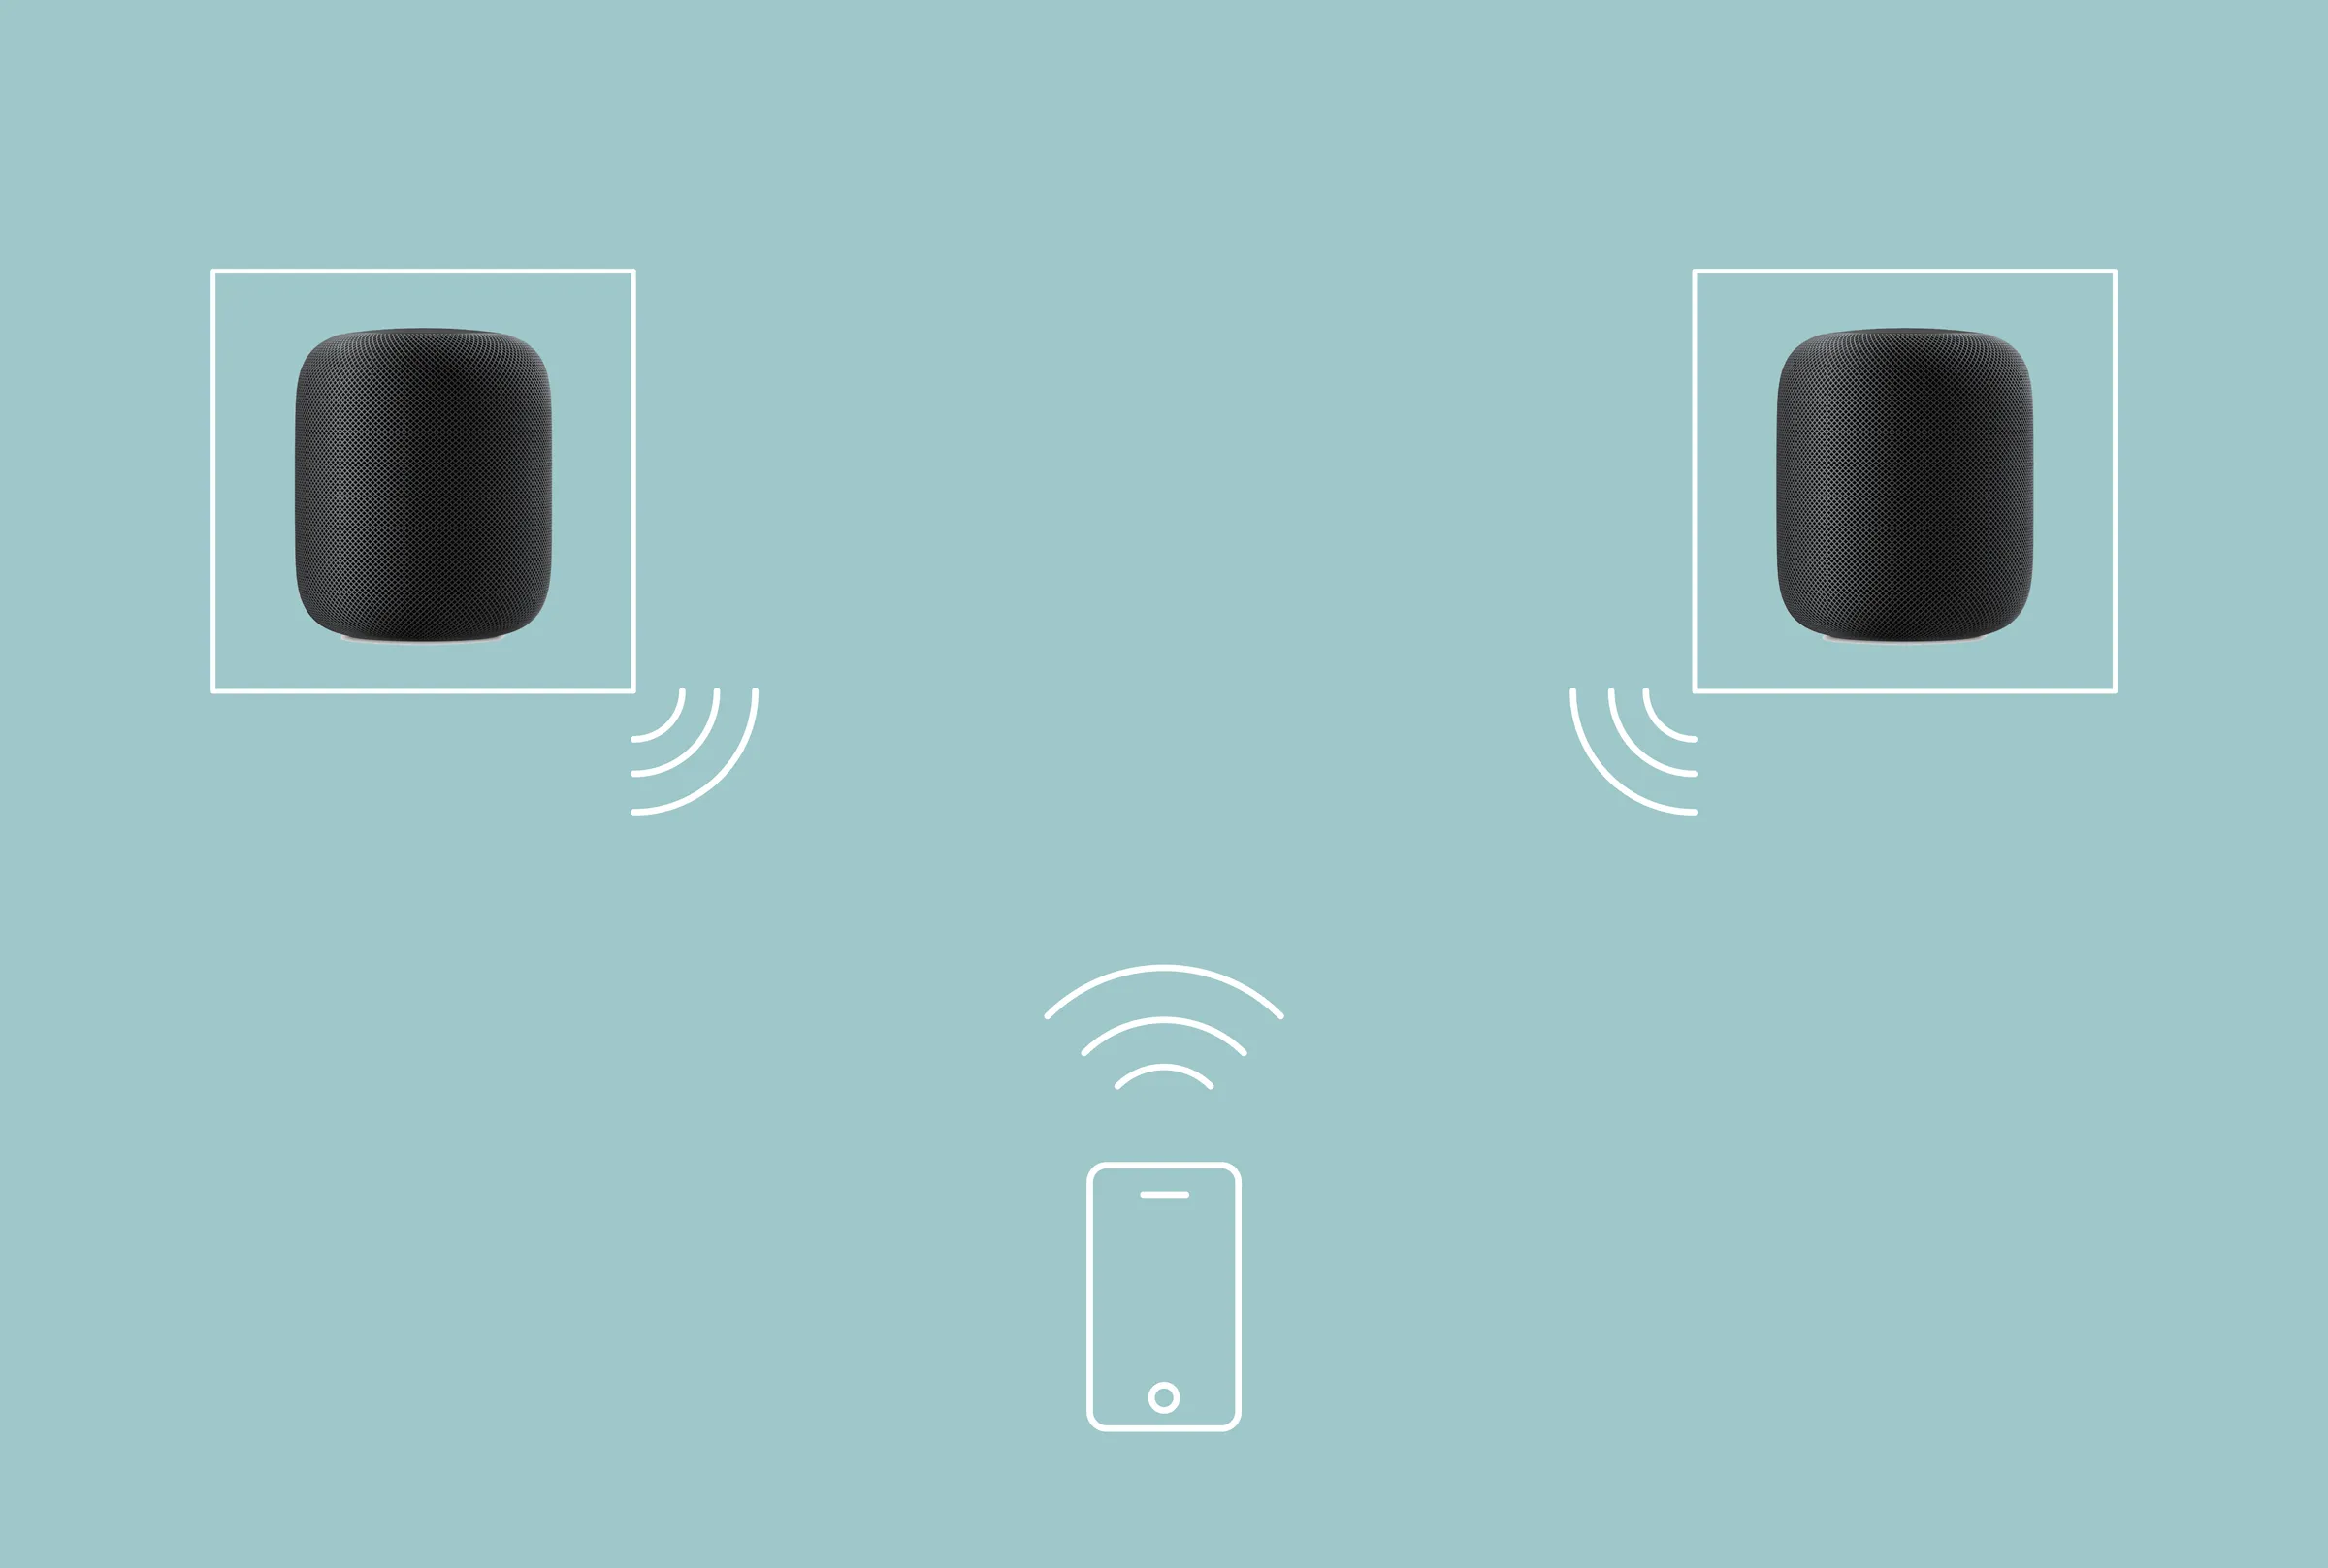
- To use stereo-paired HomePod speakers, tap Speakers first, then touch and hold each HomePod individually.
Next, select “Move HomePod to [network name]” from the drop-down menu. After your HomePod has successfully connected to the new network, hit Done.
To connect your HomePod to a WiFi network automatically, use a configuration profile
Apple also lets you set up a setup profile that connects HomePod to an 802.1X WiFi network automatically. You may make a profile accessible through a website or an email message as a network administrator.
- Simply choose your HomePod after tapping the profile on your iPhone or iPad.
- If your HomePod isn’t showing up, click Other Devices and then your HomePod.
- Then, to finish the installation, follow the on-screen directions.
How to Change WiFi Network on a HomePod
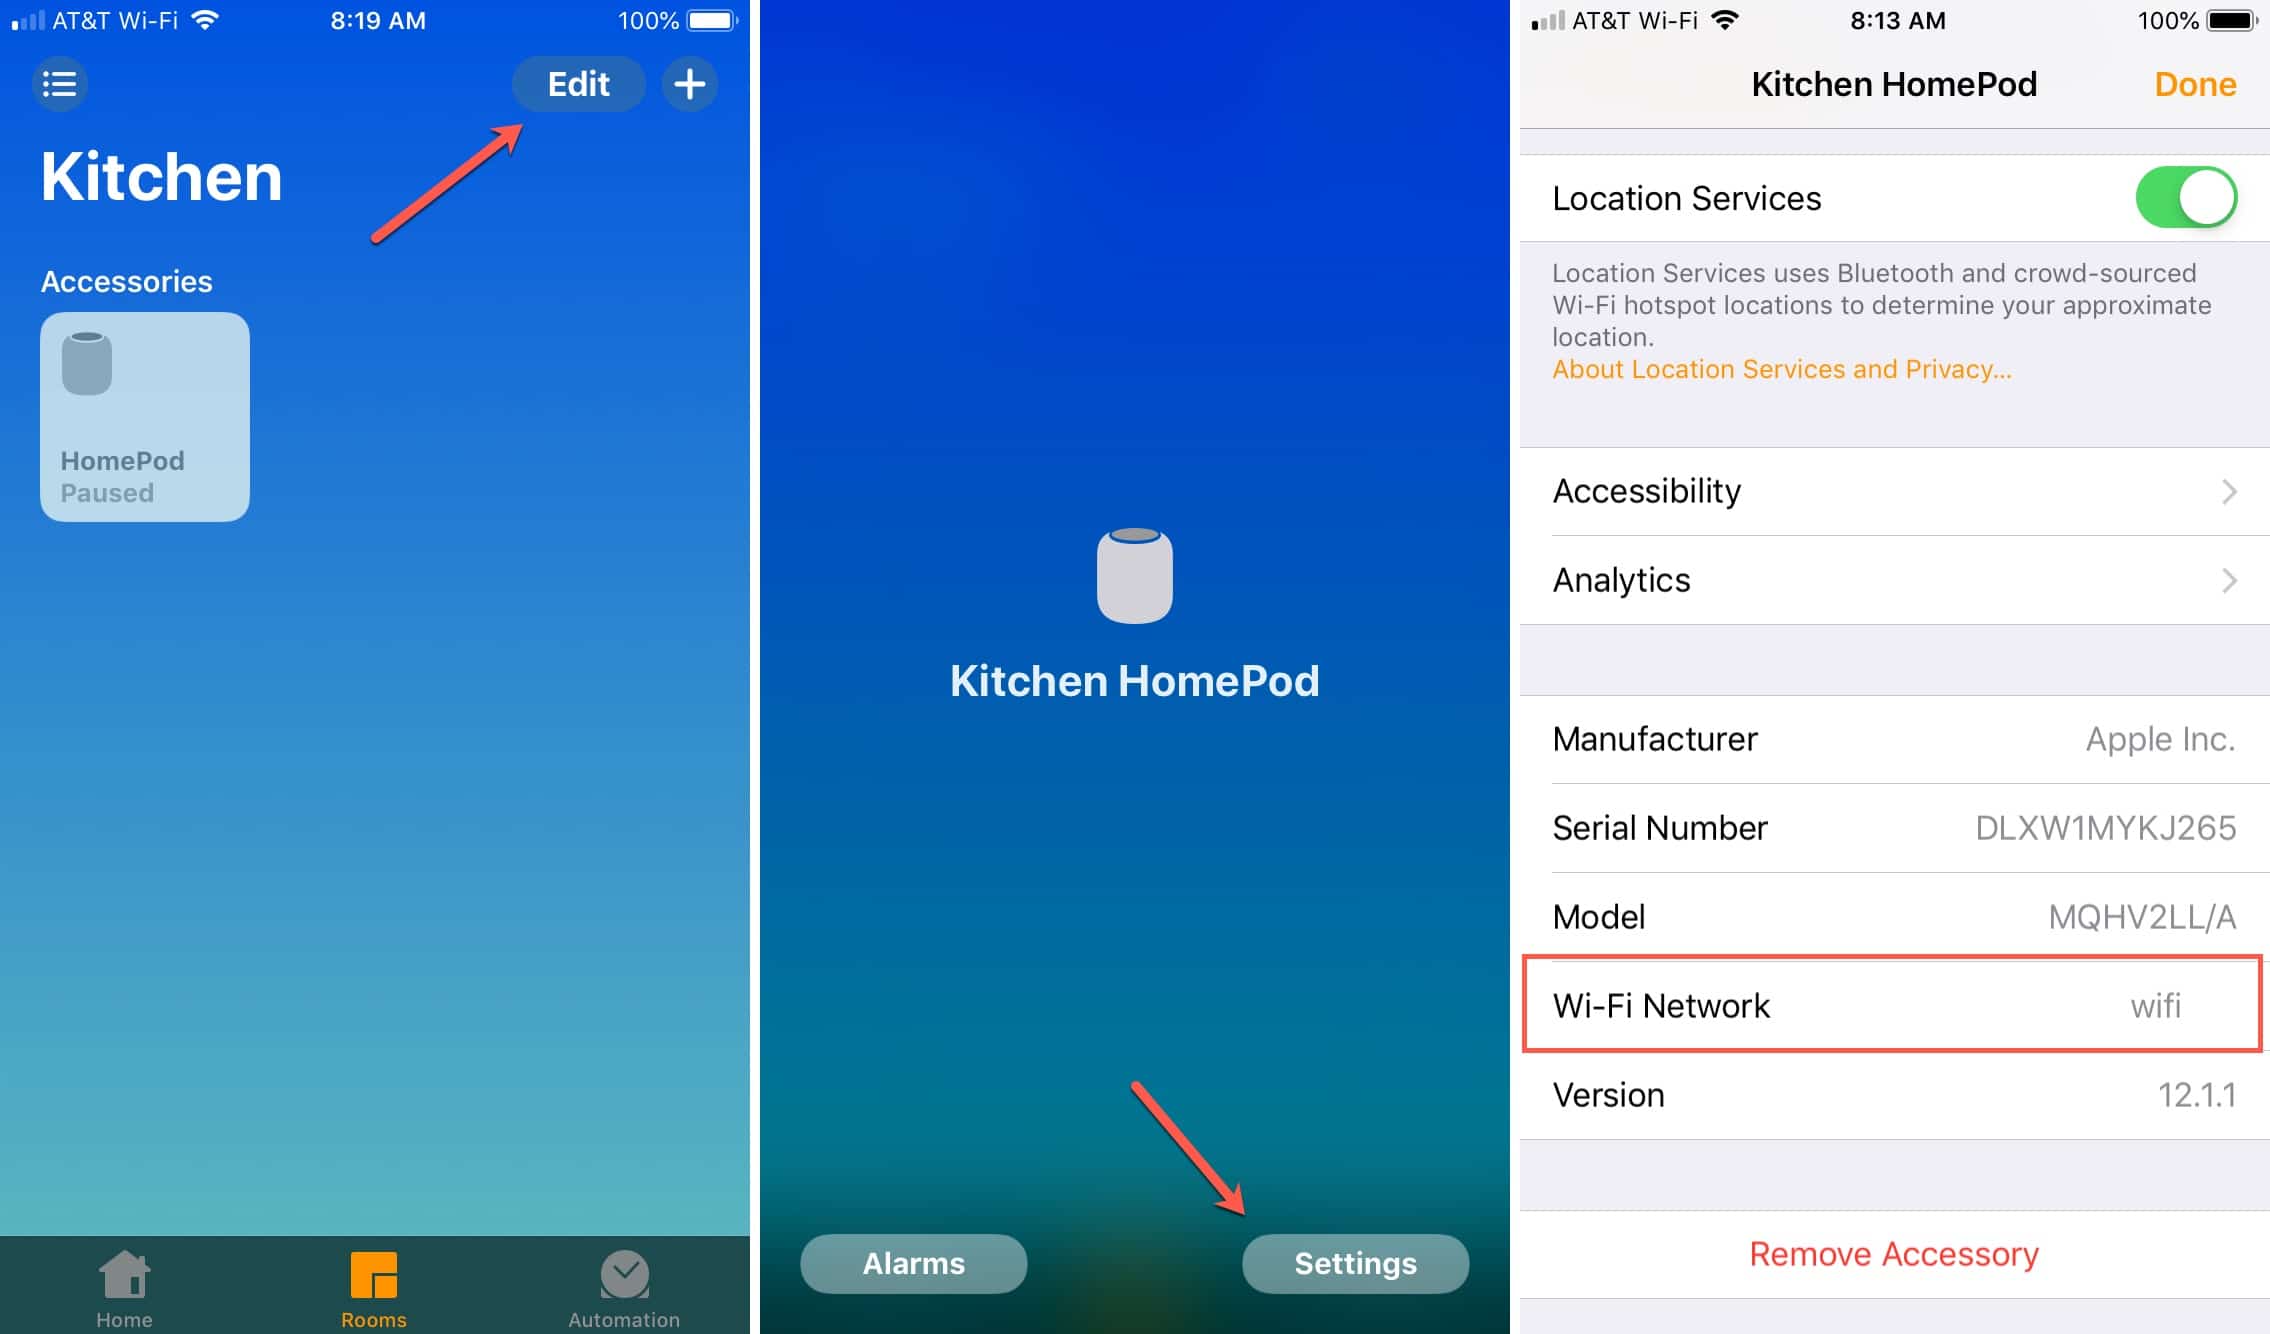
To change the Wi-Fi network used by HomePod, you’ll need to use the built-in Home app on your iPhone or iPad. The following is how it works:
- On your iPhone or iPad, open the Home app.
- You’ll notice a yellow exclamation point next to your HomePod in the app’s Home or Rooms sections, suggesting that there’s a problem with your Wi-Fi network setup. To access your HomePod’s settings, press and hold the HomePod for a long time.
- At the top, you’ll find a full explanation of why you’re having problems with your Wi-Fi network. More choices can be found by scrolling down this menu.
- Your iPhone will now display a notice indicating that it is linked to a different Wi-Fi network. A yellow text hyperlink appears just below this notice, allowing you to move your HomePod’s network. The name of the Wi-Fi network to which your iPhone is now connected will be shown. Simply select “Move the HomeePod to” from the drop-down menu.
- Wait a few moments for HomePod to update its network settings. Everything in the music playback that’s it, you’ve successfully changed your HomePod’s Wi-Fi network.
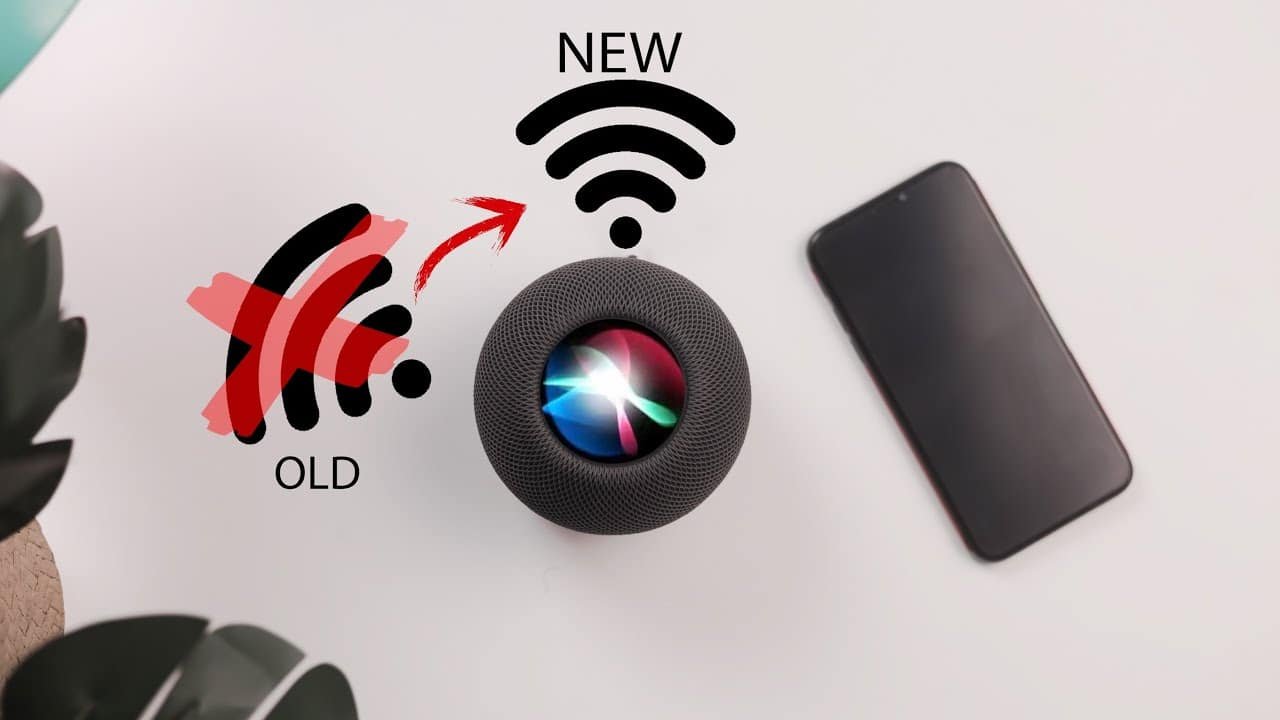
We know what you’re thinking, but your HomePod won’t operate until it’s connected to the same Wi-Fi network as the iPhone or iPad you used to set it up in the first place. When your HomePod is experiencing trouble connecting to a Wi-Fi network, you can only use the methods we described. That may change in the future, but for now, that is how it works.
As a result, the moment you change your iPhone’s Wi-Fi network, Siri will cease responding to questions owing to connectivity troubles. However, by following the procedures outlined above, you may address the difficulties in a matter of seconds.
It’s worth noting that the iPhone/iPad and HomePod may use distinct Wi-Fi networks, which might be one of the causes of your HomePod’s connectivity troubles. It may take some time for your HomePod to react again if you’re transferring it to a new place or changing the Wi-Fi password.
If you were having trouble with your HomePod’s Wi-Fi network, we hope you were able to figure out how to modify it. Here is the rundown on how to connect Homepod to a WiFi network Please feel free to share your personal experiences and important feedback in the comments area below.
Also Checkout: Senior Match App Review | A Mature Dating Platform


