How To Install Google Play Store On Windows 11: Step-By-Step Guide
As the recent upgrades enable 'Android emulation' which makes it easy and quick for android apps to run over Windows 11 efficiently. Here is an easy guide on How to Install Google Play Store on Windows 11.
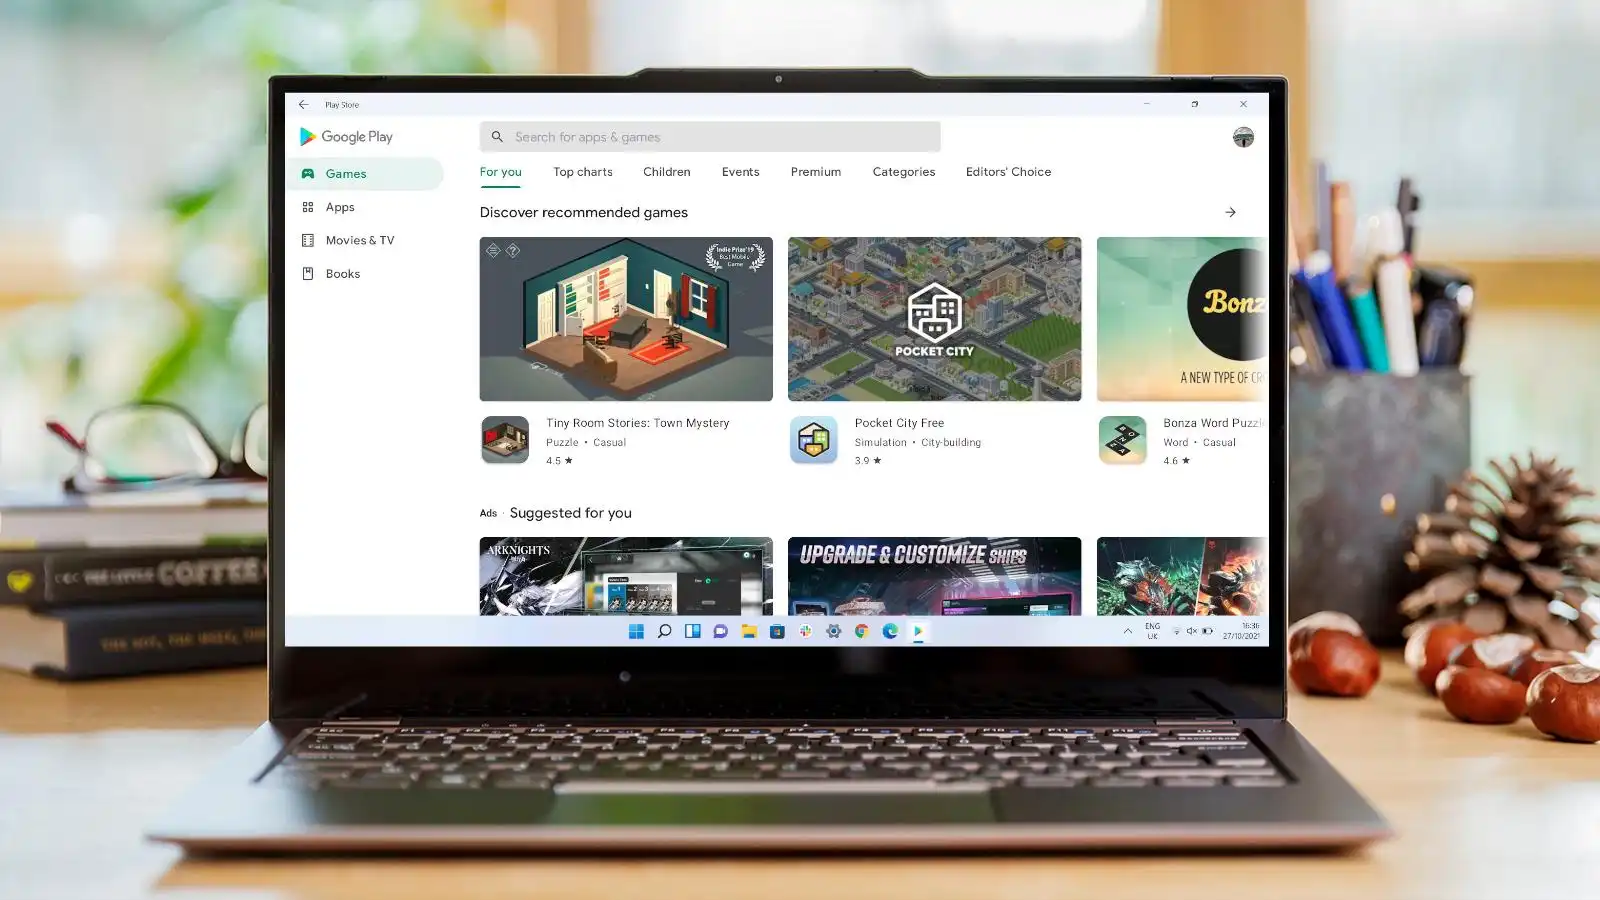
Now you can access Google Play Store and other Android apps on your Windows 11 OS without the fuss of coping with third-party emulators. The recent upgrades enable ‘Android emulation’, which makes it easy and quick for Android apps to run over Windows 11 efficiently. To have you sorted, here is the guide to installing and running Google Play Store on Windows 11 directly. In this guide, you will see how to install the Google Play Store on Windows 11.
Dealing with third-party emulators is indeed a lazy job to do while accessing Android apps on your desktop. Thankfully, with the recent Windows 11 updates, it is possible to download and run Android apps through the Play Store directly on your desktop.
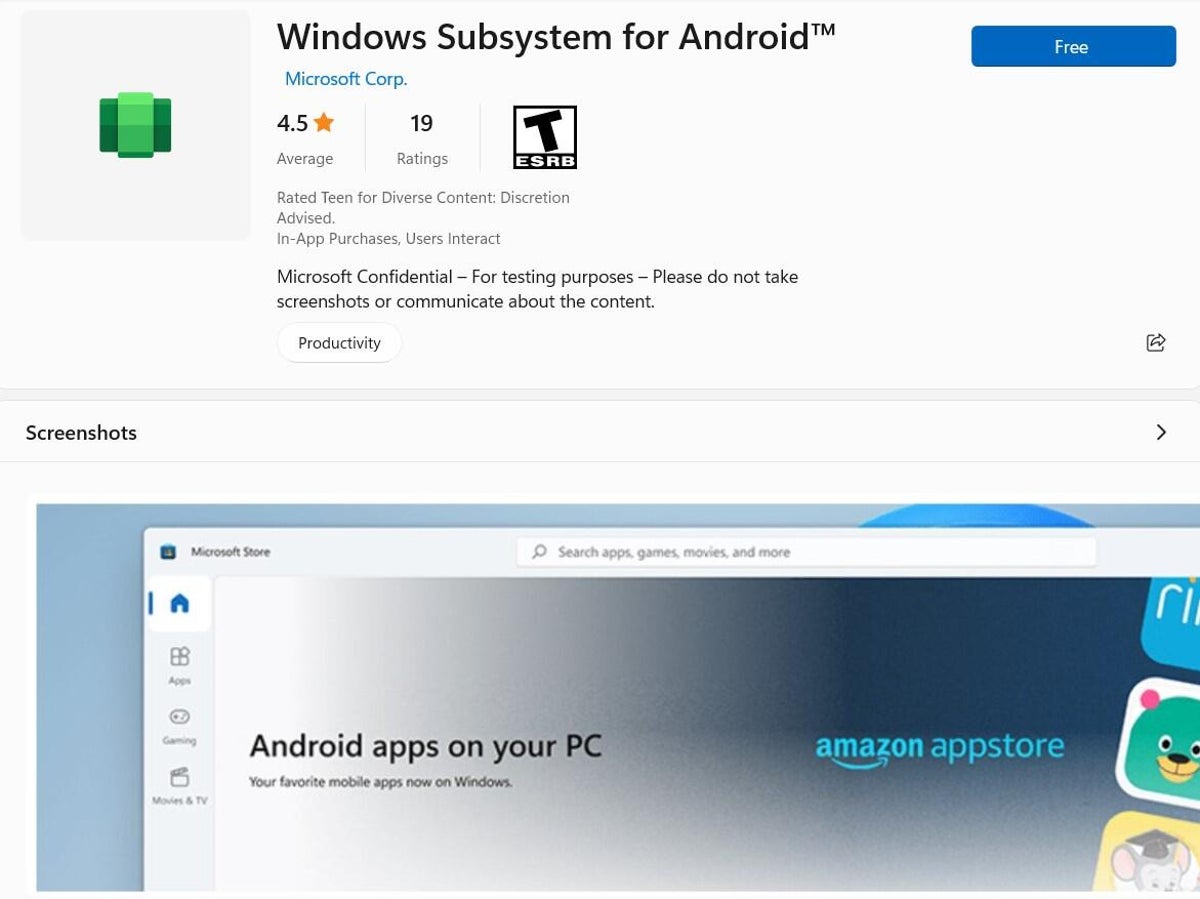
With the Windows Subsystem for Android (WSA), you can natively download Android apps only from the Amazon Store as it does lack many of the prominent apps, it is very evident why we need Google Play Store on our system. It is possible to access Google Play Store on your Windows 11 desktop but the process isn’t as simple as it sounds.
Table of Contents
Never mind, you are here with the question “How to?” and we are here with the step-by-step solution in the following parts of the article.
Step 1: Uninstall Windows Subsystem for Android
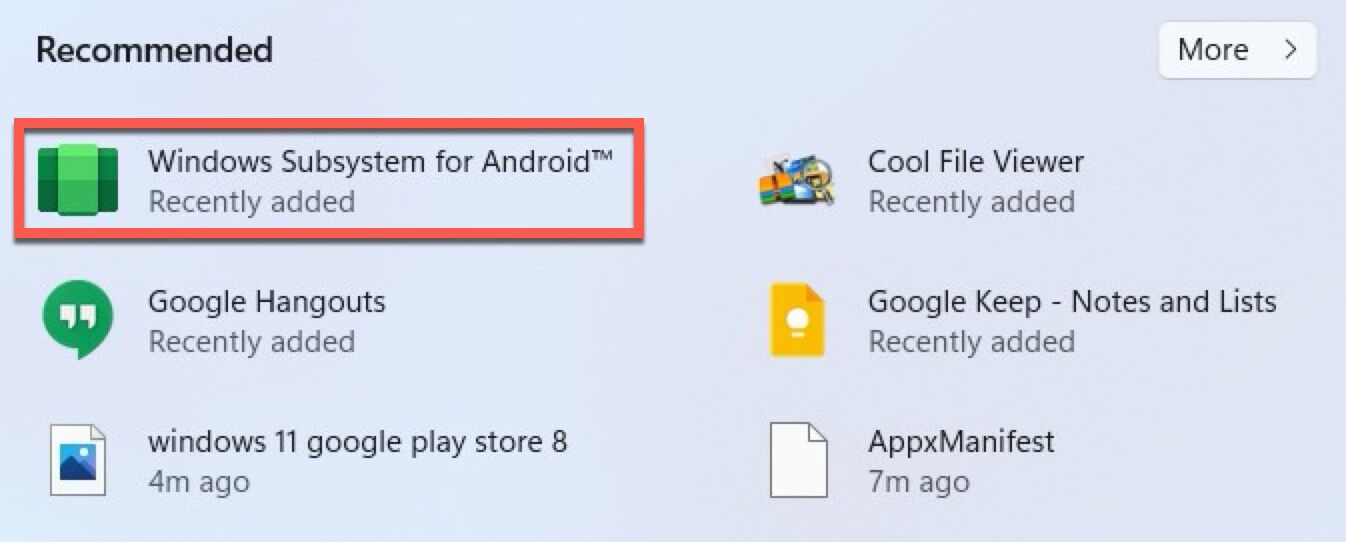
- Tap on the Start button and search for “Windows Subsystem for Android” in it.
- Once the search is complete, right-click on the “Windows Subsystem for Android” and tap on the Uninstall option.
- The Subsystem for Android is now uninstalled, and we can move on to the next option.
Step 2: Turn on the Developer Mode
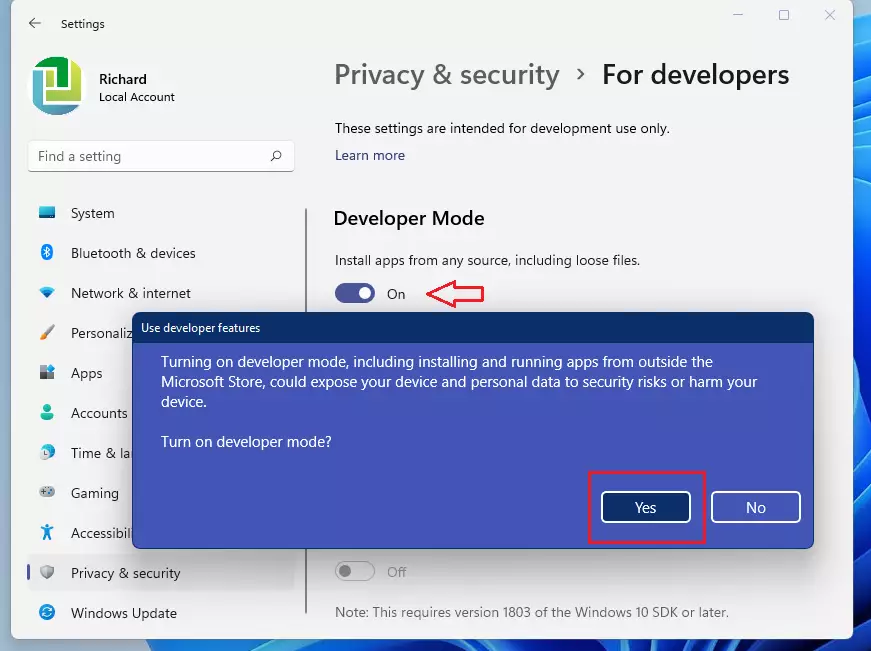
- Click on Windows and navigate to open Settings.
- Go to Privacy & Security and select the “For Developers” option.
- Turn on the toggle below the Developer Mode option.
Also check out: How to Resize Images in Adobe Photoshop
Step 3: Download Windows Subsystem for Android Files
- Now it’s time for the complex job. Open GitHub on your browser and make an account by verifying your email address.
- Navigate to the LS posed Magisk on the WSA page on GitHub.
- Click on the Fork button in the top right corner of the dashboard. After a few seconds, the Forked Menu will display.
- Tap on the Action tab. It may say “Workflows aren’t being run on this forked respiratory”, now click on the green highlighted tab saying “I understand my workflows, go ahead and enable them”.
- You will find the Build WSA option on the left-hand side under All workflows.
- Click on the Run workflow on the right-hand side of the display.
- You will get a pop-up containing the download link to the Magisk APK.
- Now, type pico under the Variants of GApps. (You can choose other variants also if it is familiar to you already.)
- Click on the Run workflow button, and you will receive a status message saying “Workflow run was successfully requested”.
- You may have to wait for a while, possibly some minutes. Once done, you can see a green checkmark on the screen indicating the completion of the task.
- Now, click on the completed Build WSA or Magisk label and scroll down to the Artifacts section. You will see the ARM and X64 versions.
- Considering your CPU version, click on the most appropriate WSA with the Magisk GApps link (ARM or X64). The package will be downloaded sooner or later, depending on the internet speed.
Also check out: 12 Best GarageBand Alternatives for Android in 2021
Step 4: Install Google Play Store on your Windows 11

- Once the package download is complete, you need to right-click on the downloaded zip folder (WSA-with-magisk-GApps-pico_1.8.32828.0_x64_Release-Nightly) and select the Extract option. Confirm a location to extract.
- Now, open the WSA with the Magic GApps folder and locate the Install.PS1 file inside it.
- Right-click on the file and choose to run with PowerShell.
- Click Open to confirm the action. The PowerShell script will execute and display the “operation completed successfully” notification.
- Some new installation notifications may be displayed on the screen. Afterward, the script will automatically install the Windows Subsystem for Android and Google Play Store and close the PowerShell window.
- All you have to do now is click on Allow access for Windows Security Alert to make the Windows Subsystem for Android package connect to your network.
- Now, press Win + S to open the Windows Search bar.
- Search for Windows Subsystem for Android and open it.
- Confirm that the Developer Mode is ON. (As we did in step 2 above)
- Click on Manage Developer Settings under Developer Mode to restart the subsystem.
- Tap on Allow/Yes if prompted by Windows Firewall.
- Click on Start, and you will be able to see the Play Store app icon.
- Open the Play Store app, and you will have to do basic drills such as logging in with your Google account. The app will be set up completely in no time.
As you have the Play Store on your Windows 11, you are good to install Android Apps and run them on your PC. However, some apps may not work properly due to smartphone-dedicated builds or licensing restrictions.
These were the steps to have you installthe Google Play Store on your Windows 11 PC. Now you don’t have to invest time and mind in third-party emulators as most of the Android Apps will be easily compatible with your Windows 11 directly.
Also check out: 7 Best Malware Removal Tools For Windows
10 Best Registry Hacks For Windows 11: To Enhance Your Windows 11 Experience
