How To Install And Run Android 12L On Your PC
The Mountain View tech giants have unveiled Android 12 for large screens. Here is how to install and run android 12L on your PC.

Technology as a whole is constantly pushing forward into new territories. However, this means that older hardware will gradually become less performant when running newer operating systems. However, there are a variety of methods for making computers run faster. Here in this article, we will be discussing how to install and run Android 12L on your PC. Read on to find out.
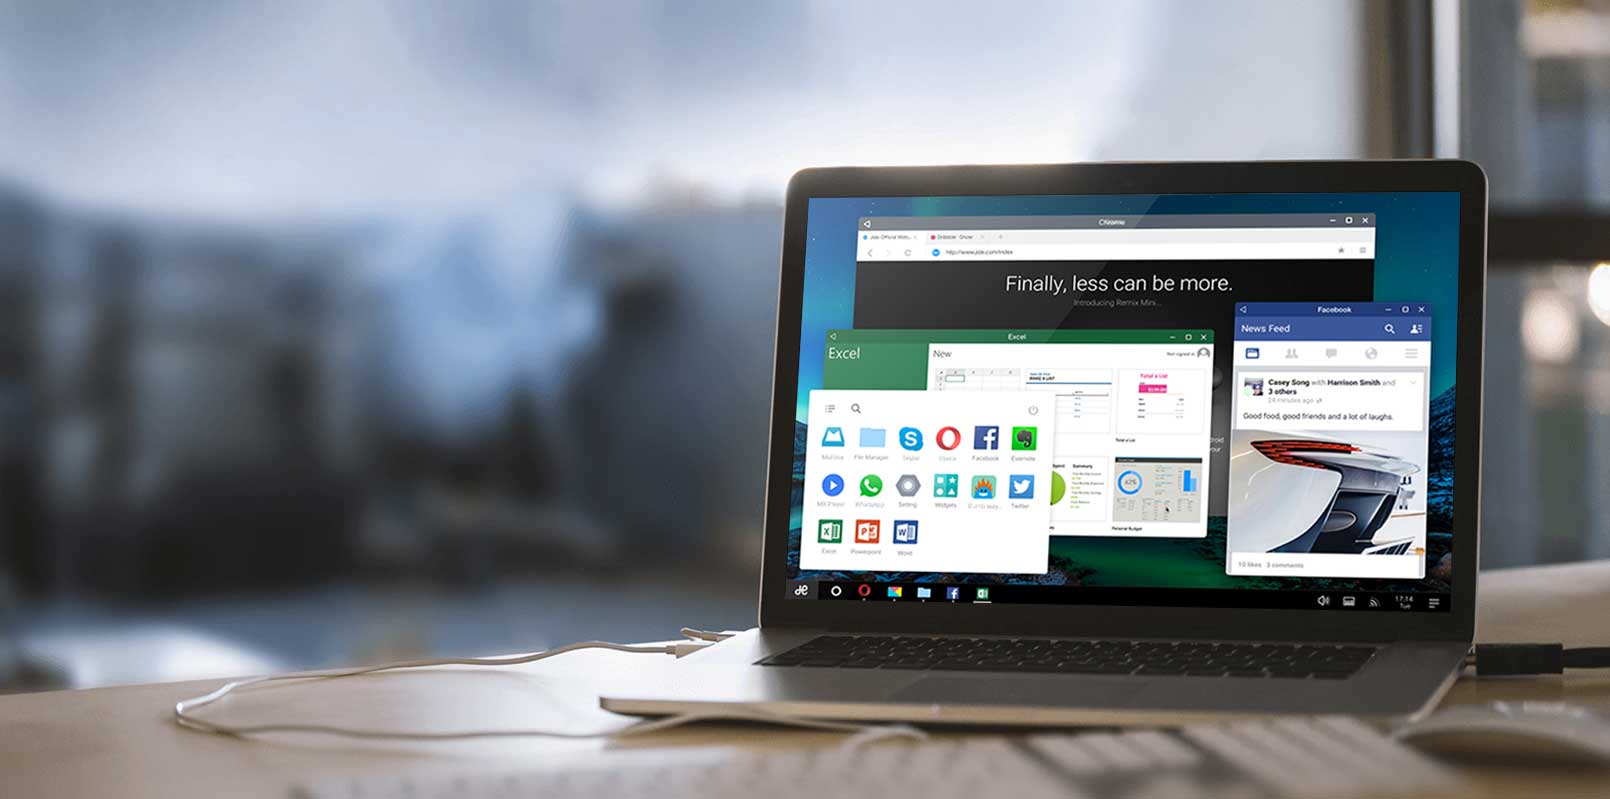
While Chrome OS Flex was one such example, another is Bliss OS, an open-source Android-based OS that was just published. Fortunately, Bliss OS 15 has been launched as an alpha version, bringing Android 12L to PC users.
In the shape of the new Android 12L, the Mountain View tech giant unveiled Android 12 for big-screen phones, such as foldable, tablets, and Chromebooks. For the time being, the Android 12L is still in development and is only available to app developers for testing. We’re all eager to try it out and can’t wait for the update to arrive on our smartphones.
On the other hand, why wait until you can get Android 12L up and running on your Windows PC or Mac right now? Below, we have listed easy steps on how to install and run Android 12L on your PC.
How to Install Android 12L on Your PC
We’ve included thorough instructions for installing Android 12L on both a Windows PC and a Mac in this article. Read on to find out.
Burning ISO Images onto the USB Drive
Let’s start by making the Bliss OS 15 build bootable on our USB stick. Regardless of whether you’re previewing the OS or installing it, you’ll need to do this. To do so, insert your pen drive into your computer and follow the steps below:
- To begin, open Rufus on your computer. By choosing the drop-down button next to ‘Device,’ make sure your USB drive is selected.
- Besides boot selection, click on the ‘Select‘ button to choose your ISO file.

image source: software keep - Go to the directory in which you saved your build. In my situation, I did so on my computer’s desktop.
- Simply press the ‘Start‘ button. You do not need to change any other setting.
- A pop-up box will open, prompting you to select the writing method for the image. To continue, select ‘Write in ISO image mode’ and then OK.

image source: trend-oceans - To permit Rufus to format your pen drive, press ‘OK.’
- The process could take anywhere from 2 to 10 minutes, depending on your computer. After that, you’ll get the message below and can press Close to eject your Pen Drive.
Preparation for installing Android 12L on your PC
If you like using the portable version of Android 12L, you can download and install it on your computer. However, keep in mind that, as previously said, early builds may and do have issues. Bluetooth, for example, does not appear to work at present.
If you do delicate work, I recommend sticking with your original operating system. If you still want to go ahead with the installation, we’ll need to establish a separate partition on our computer first. Follow the steps below:
- In the Run window, press Win+R type “diskmgmt. msc” and click Enter. Now you’ll see the Disk Management window pop up.

image source: driver easy - To do so, you’ll need to either identify unallocated space on your hard disc and create a new volume or downsize an existing one. Make sure the total space is at least 50GB.
- Right-click unallocated space and select ‘New Simple Volume’ from the menu.

image source: windows password key - Assign a letter and a name to your drive using the setup wizard. The remainder of the options can be left alone.
- The new partition will be created after you click Finish.
You can now install Android 12L on our computer. For more information, see the section below. Follow the steps below to install Android 12L on your PC.
- Insert the USB drive into your PC and turn it off, just like you did in the preview section.
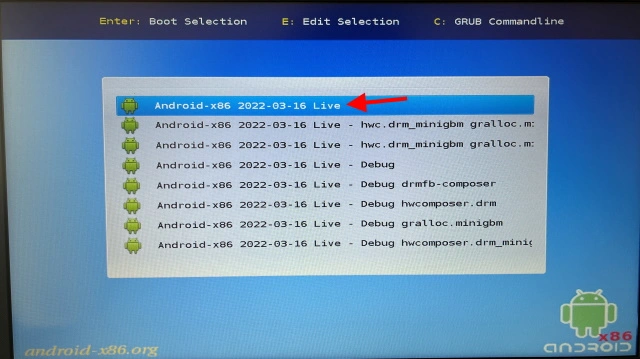
- Go into your PC’s BIOS and the boot menu to restart the pen drive. You’ll find yourself back on the Android main menu.

image source: groovy post - This time, though, use your keyboard to scroll down and pick ‘Android-x86 2022-03-16 Installation’, then hit Enter.

image source: beebalm - Choose the partition that we made earlier from the selection that opens, and then press Enter to choose it.
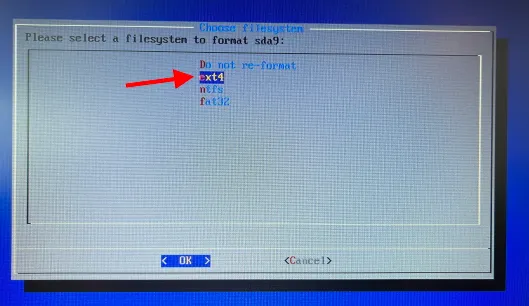
- Choose ‘ext4’ and hit Enter on the next screen. This will start the partition reformatting process, which may take a few minutes.

image source: click this.blog - Now a couple of pop-up boxes will appear. To proceed with the installation, simply answer Yes to all of them.
It will take 15-20 minutes to complete the processing, after which you will be given the option to boot into Android or return to the BIOS. That’s all there is to it! However, keep in mind that you’ll have to enter your BIOS every time you want to switch between Windows and Android partitions. Now you can smoothly run Android 12L on your computer!
The developers of Bliss OS have done an excellent job of integrating their code with Android. 12L. When it comes to the general appearance, this build of 12L incorporates standard Android components as well as Material Elements. Steps on how to install and run Android 12L on your PC are mentioned above.
Also, Check out: SurfShark VPN Review: Is It Good Or Bad


