What Is Tiny10 (Lightweight Windows 10) And How To Install It
Since the release of Windows 10, Microsoft has been steadily adding new features to its desktop operating system. Let’s get to know what is Tiny10 (Lightweight Windows 10) and how to install it
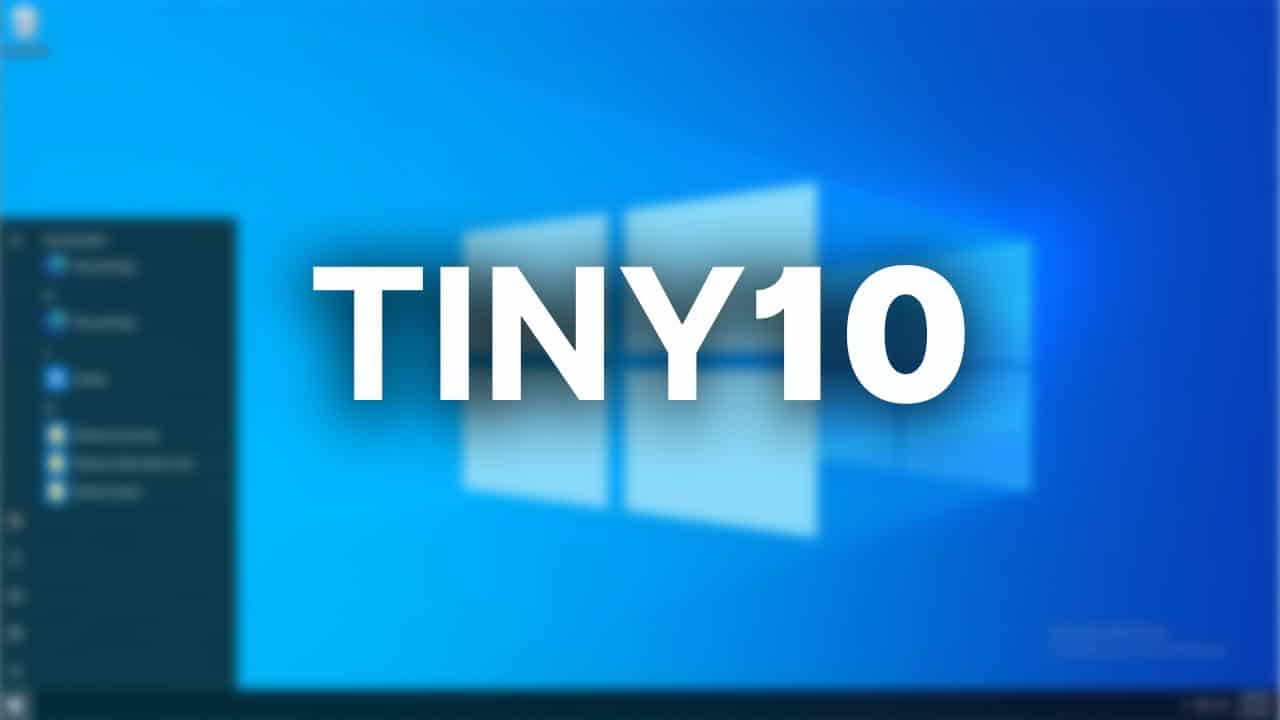
Although there are some anomalies in the user interface that Rectify11 mainly resolved, we admire the fact that Windows 11 is feature-rich and visually contemporary. Apart from that, since the release of Windows 10, Microsoft has been steadily adding new features to its desktop operating system. In this article, we will be discussing what is Tiny10 (lightweight Windows 10), and how to install it.
Both Windows 10 and 11 contain additional features, duplicate background services, and useless programs. In comparison to Windows 7, Windows 10/11 appears to be rather hefty. And now, one of the developers has published Tiny10, a lightweight version of Windows 10 to reduce Windows 10 to its essentials.
It takes up significantly less space, runs on systems with a low amount of RAM, and is free of bloatware. Continue reading to learn about what Tiny10 is and how to install it.
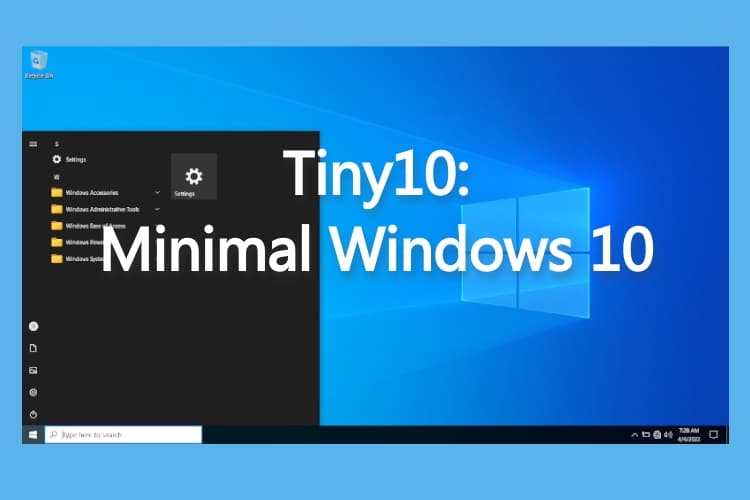
Table of Contents
Everything You Need to Know About Tiny10 (2022)
We’ve covered everything there is to know about Tiny10, including how light it is in comparison to the standard Windows 10 installation. A guide on how to install Tiny10 on any PC is also included (both 32-bit Tiny 10 and 64-bit). In conclusion, you may read our first impressions of Tiny10, a super-powerful and lightweight Windows 10 version.
What is Tiny10(Lightweight Windows 10)?
Tiny10 is a stripped-down version of Windows 10 that was created by NTDEV. We all know how bloated Windows has grown, therefore this project seeks to get rid of all the extraneous components. This implies that Windows 10 will operate smoothly even on low-end hardware. Tiny10 has been tailored from the bottom up to decrease Windows 10’s footprint, not merely by removing junk.
Tiny10, for example, takes up just 5.2 GB of disc space when installed on a 32-bit system, which is a huge improvement. A standard version of Windows 10 takes up 22GB of disc space. It’s fantastic that the installation size was reduced by 17 GB.
Tiny10 can require up to 10 GB of disc space on 64-bit computers. In terms of RAM, the Tiny10 can operate on a 32-bit system with only 1 GB of RAM, and it can run on a 64-bit system with 2 GB of RAM, which is incredible. Even on a PC with 4GB of RAM, we already know that Windows 10 is severely out of date.
Is Tiny10 up to par?
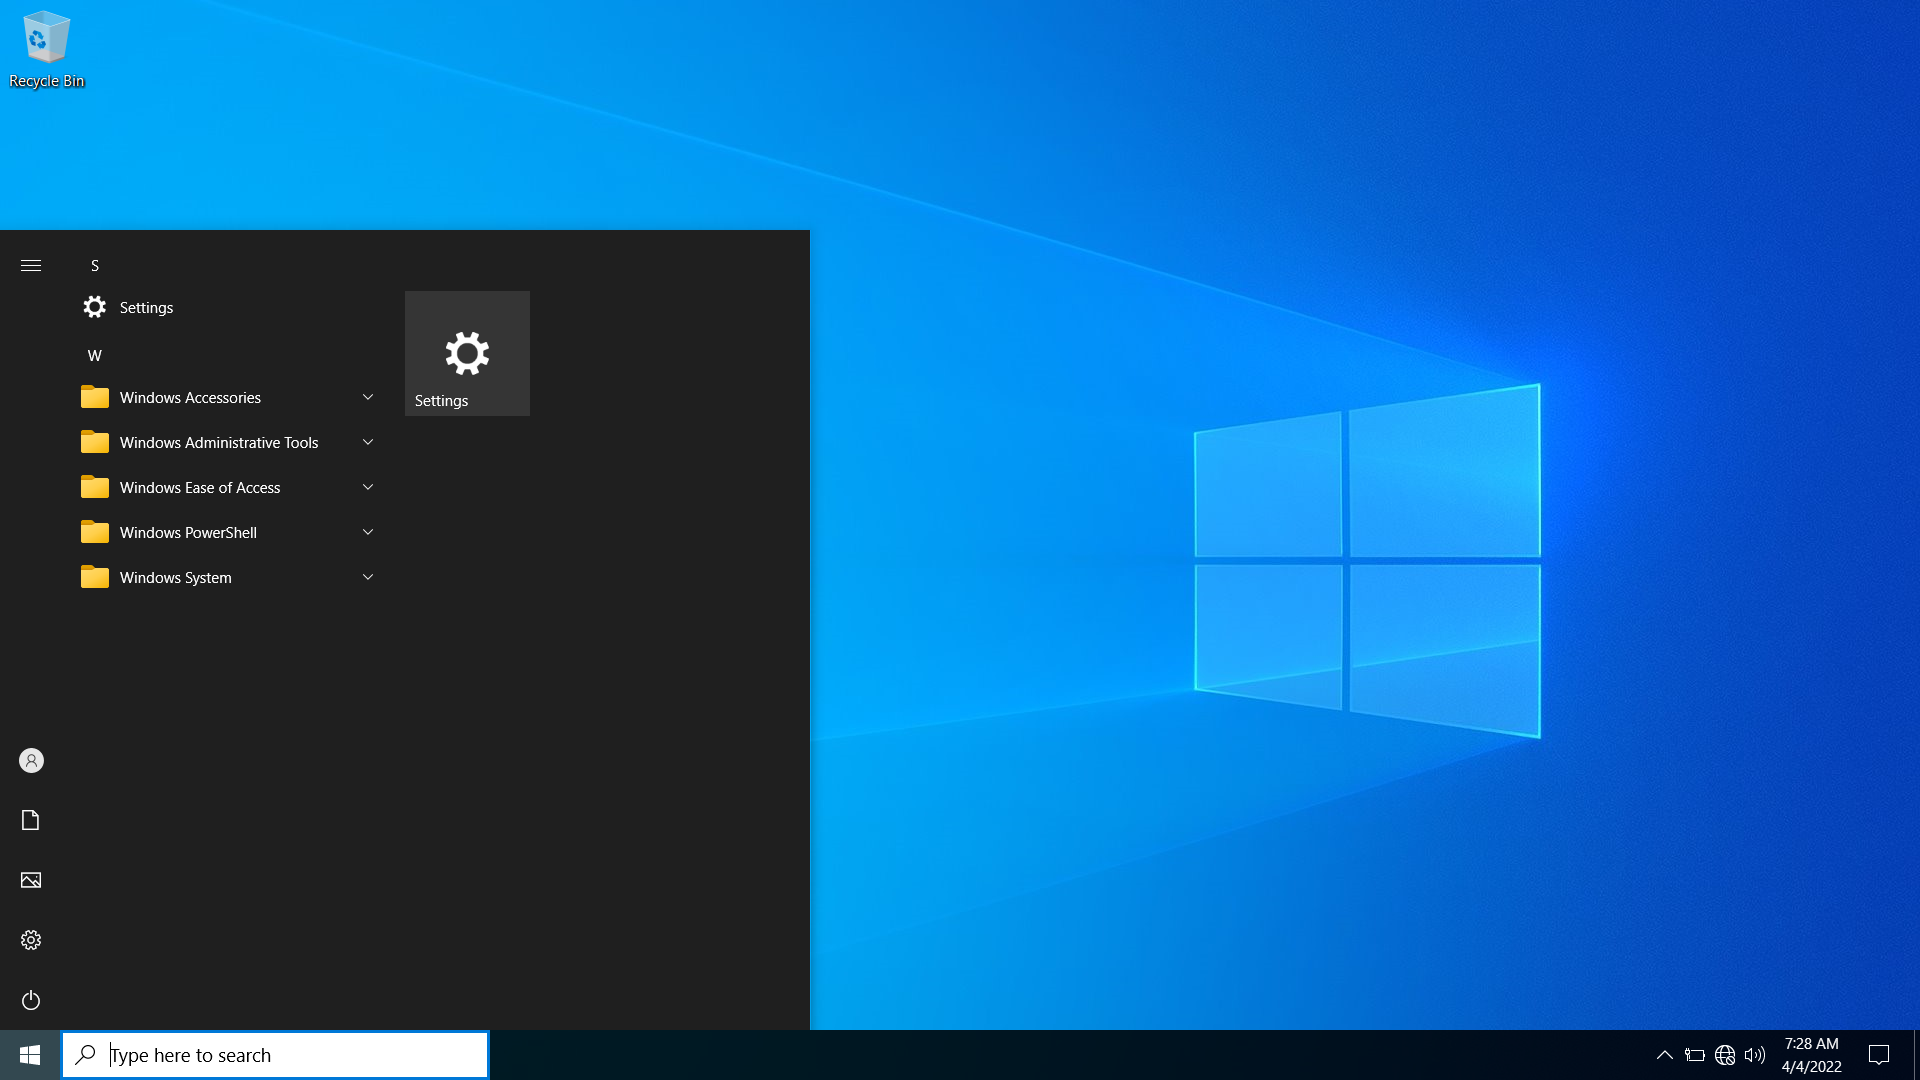
We thoroughly evaluated the Tiny10 and found that it performed well. All of the basic Windows system tools are available, including PowerShell, CMD, Disk Management, and others. We also ran a variety of apps, including Geekbench, Crystal Disk, ShareX, and games like CS: GO, with no problems.
It’s also surprising to me considering we’re now testing Tiny10’s first beta build for x64 platforms. However, we can assure you that Tiny10 will not leave you wanting in terms of functionality.
Tiny10 includes files that remove all default programs including Image Viewer, Internet Explorer, Media Player, and others, leaving only Notepad and Wordpad in this stripped-down version of Windows 10. It’s also worth noting that Tiny10 does not have Microsoft Store or Windows Security. The apps you want will have to be sideloaded.
How to install Tiny10?
Here we have discussed how to install Tiny10(lightweight Windows 10) in only 7 easy steps:
- Depending on your framework, go to Tiny10 and get the ISO image: 64-bit (1.7 GB) | 32-bit (1.7 GB) (2.4 GB). We conducted a VirusTotal first file scan and found no red flags, which is a healthy indication.
- Then, to build a bootable USB device, click on this website and download Rufus.
- Now open Rufus, insert the USB device, choose the ISO image, and click “Begins.”

Verify that the file system is NTFS.
- We recommend that you make some downloads after the flashing procedure has begun. Meanwhile, for a stress-free experience. Because Tiny10 lacks a built-in browser, we recommend downloading the Google Chrome standalone configuration from here. After that, copy it to the flashing USB drive’s root directory. To update your drivers, you may alternatively download and transfer a program like Driver Booster.
- Connect the USB disc to the target computer and restart it after that. Press the boot key (it must be one of the function keys – F9, F8, F7, etc.) when you restart your computer. If you don’t know what your computer or laptop’s boot key is, look it up on the internet. Select the USB disc and press Enter once you’ve arrived at the boot selection page.

6. The Tiny10 installation window, which looks identical to the Windows 10 setup window, will now appear on your PC. Choose your preferred drive by following the on-screen instructions. Finally, to install the operating system, click Next.
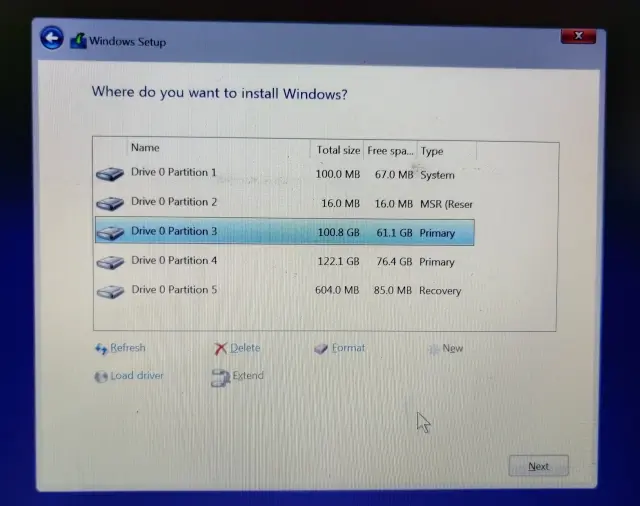
7. You will boot directly to Tiny10 once the installation is complete. Enjoy Windows 10’s minimalist design!
That’s everything there is to know about Tiny10 and how to install it on any machine. Tiny10’s support for 32-bit systems is fantastic, which implies that even older hardware can benefit from this effort. What is Tiny10 and how to install it in 7 easy steps are mentioned above. If you have any queries feel free to ask in the comment section below.
Also Checkout: 10 Best Photo Editing Apps For Android


