How To Use Split Screen On Your Chromebook
A split-screen layout can help you get more work done on a computer and may be a more convenient format if you find yourself hopping between windows and programmes all day. Here is how to use Split Screen On Your Chromebook.

It’s really simple to set up on a Chromebook, and if done correctly, the machine will perform the window resizing for you. Chromebooks often feature modest displays.
Isn’t it lovely to have windows next to one another? On your Chromebook, you may split the screen. However, it is not as straightforward as it appears.
Table of Contents
Let’s take a quick look at how to use Split Screen On Your Chromebook-
1. Dropping and Dragging
Drag and drop a window to the left or right side of your screen to tile it. Simply grasp the window with your mouse and drag it to the left or right border of your screen.
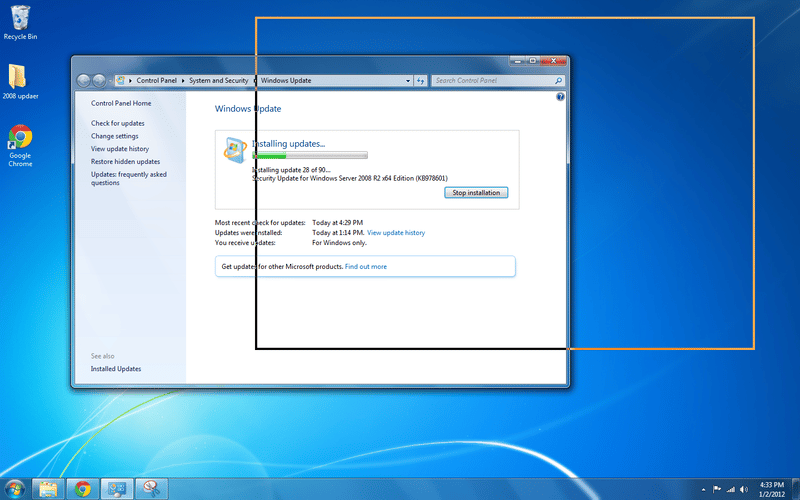
You’ll see a window outline that depicts how it will be displayed. When you release the mouse button, the window will occupy half the screen, similar to how Windows behaves in Windows 10.
This mode is useful if you need to refer to one document while working on another.
2. Making Use of the Maximise Button
Using the maximize button, you may also tile windows side by side. Simply click and hold the button in the top-right corner. Two arrows will appear to the left and right of the button.
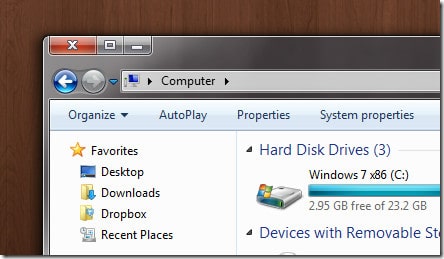
If you move your cursor over one of them while still holding down the mouse button, you’ll see the same outline as if you were dragging and dropping. When you let go of the button, the window will shift to the opposite side of the screen.
3. Making Use of Keyboard Shortcuts
You can also divide the screen and move windows with keyboard keys. The keystrokes Alt + [and Alt +] relocate a window to the right or left side of the screen.

It will not only divide the screen, but it will also shift any previously tiled windows. It’s also faster than using the mouse.
On a Chromebook, you can now split the screen
On other platforms, such as Windows, macOS, or Linux desktop environments, you may have seen someone split the screen to display windows side by side. But have you ever considered doing the same thing with a Chromebook?
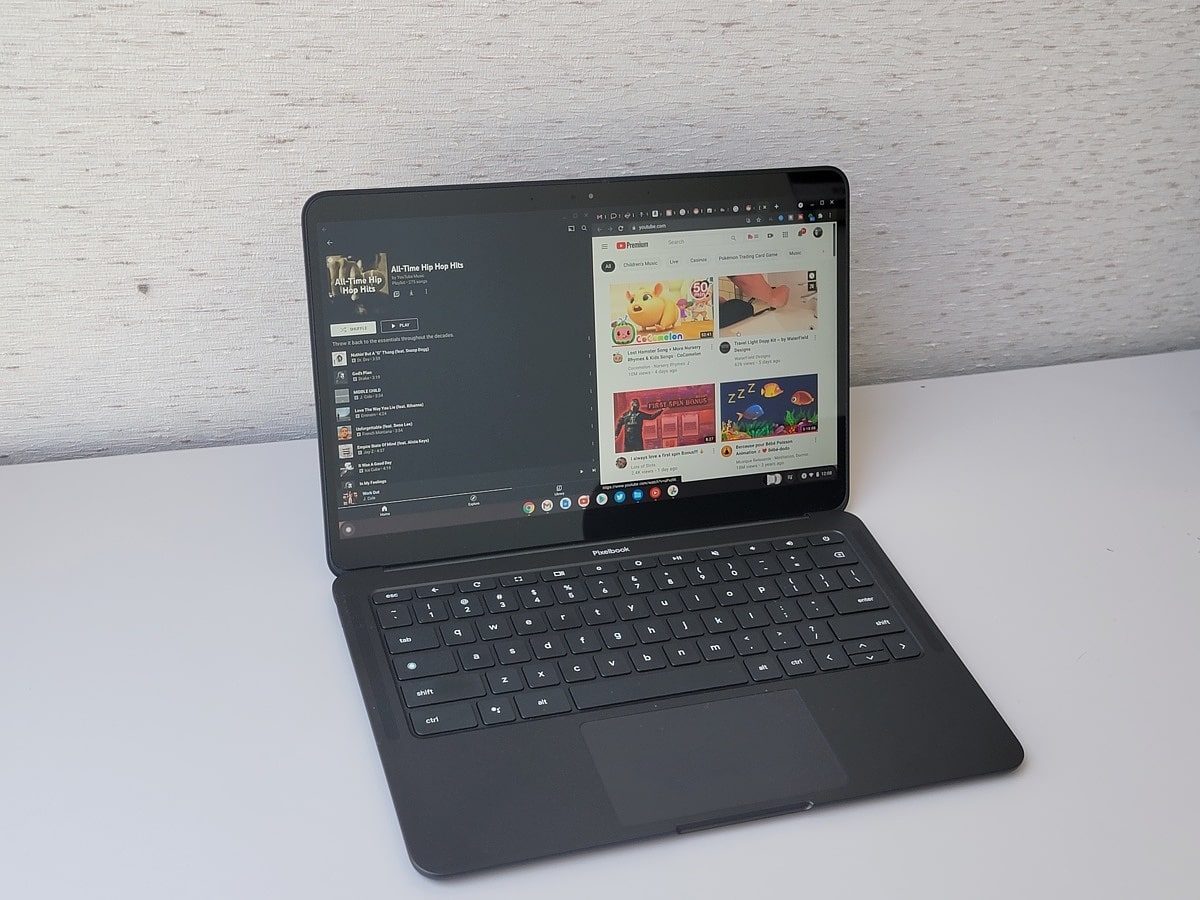
You may utilize mouse and keyboard shortcuts to make working with many windows simpler now that you know how simple it is. Are you new to Chromebooks? By following a few easy guidelines, you can get the most out of your new Chromebook.
How to Use Chromebook Split Screen
After you’ve learned how to activate split-screen mode in Chromecast, you’ll need to know how to manage it. Here are a few pointers to get you started:
1. Resize App Windows in Split Screen Mode
When using the split-screen mode, the windows do not have to be the same size. You may change the size of each window on the screen. To resize applications in split-screen mode, follow the instructions below:
Move the mouse pointer to the intersection of the two app windows. If you remain long enough, you will see a little, double-headed arrow icon.
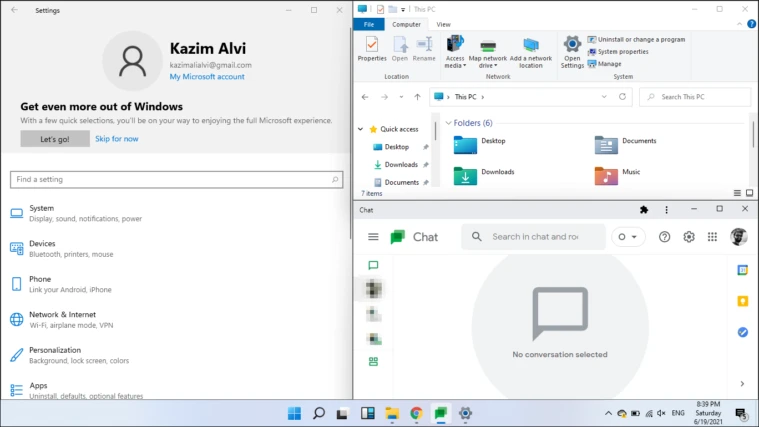
To change the width of the window, move it in any direction. Making one window broader will inevitably make the other narrower. You may also resize the windows by dragging the circle icon at the intersection.
2. Exiting Chromebook Split Screen Mode
The split-screen feature is disabled when a window is minimized or maximized.
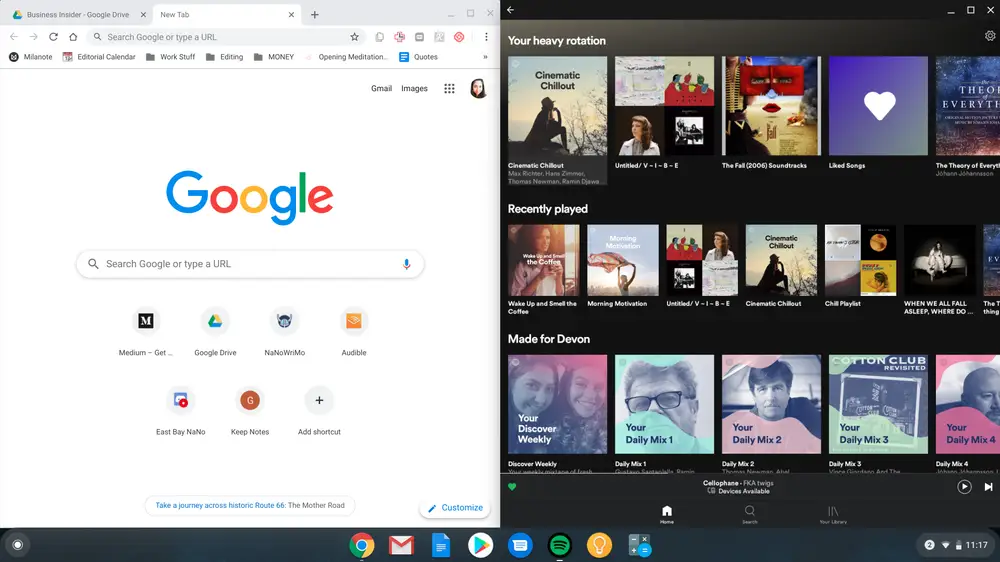
When you expand one window, the second window fades into the background. When you minimize a window, it moves to the background.
CONCLUSION
Split-screen mode is superior to minimizing and moving between windows every time you need to look at anything else. This might be a major issue during meetings if you need to keep an eye on the live video stream while reading information from a paper.
In such instances, a split-screen is a simple option. In tablet mode, Chromebooks may also employ a split screen. However, in this situation, you must set it up using your fingertips. Here we conclude our post on how to use Split Screen On Your Chromebook.
