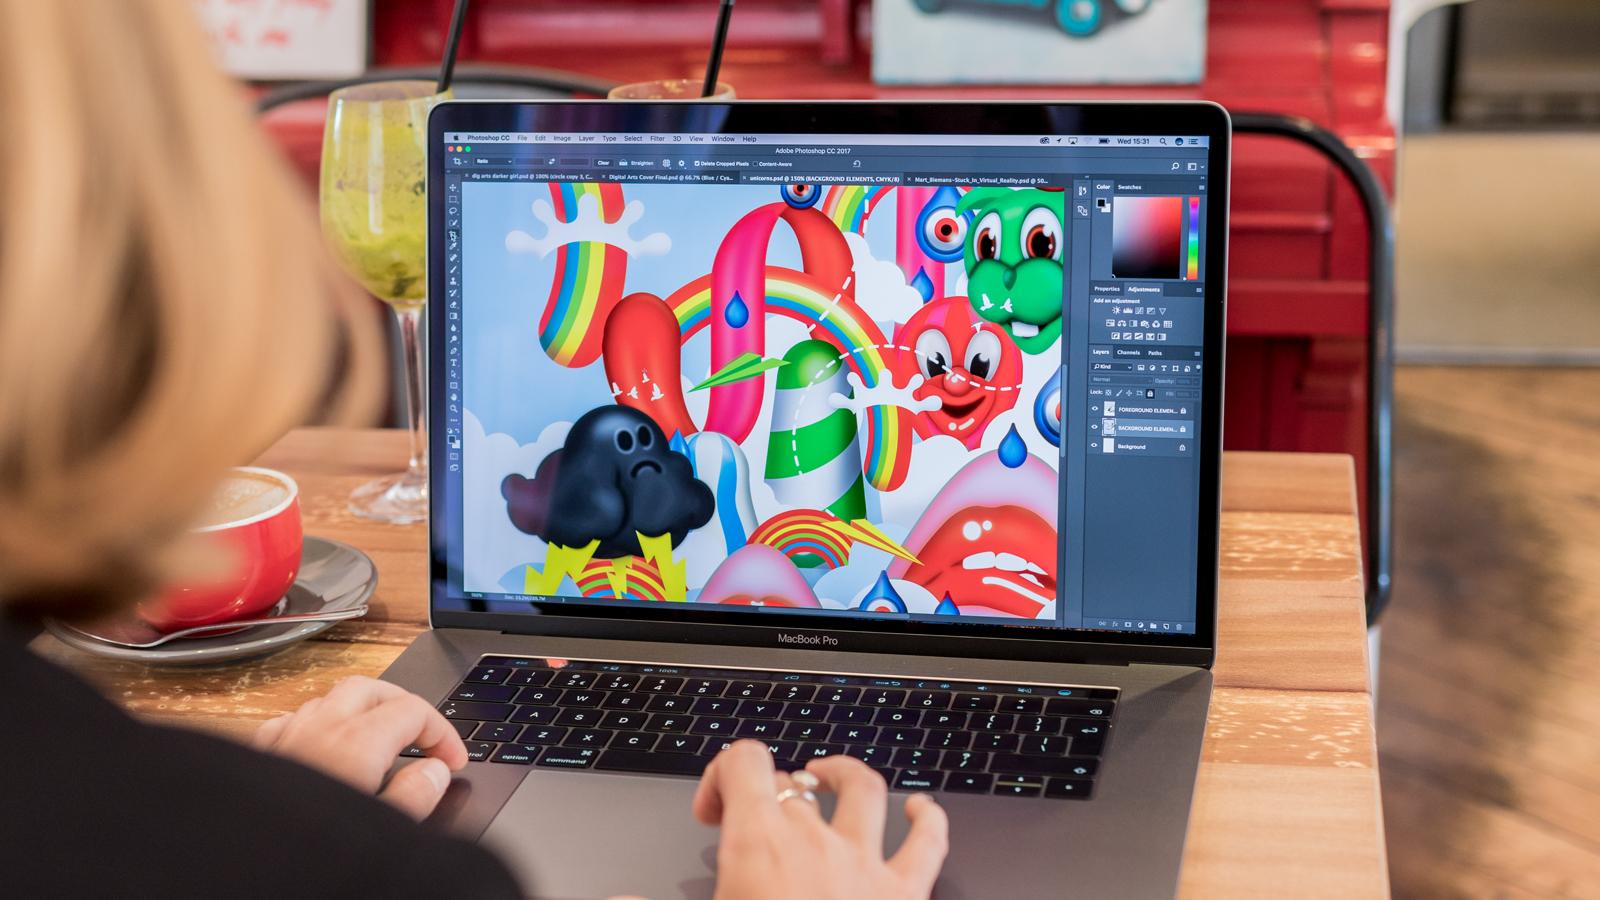
One of the most regularly utilized Photoshop techniques is resizing an image. It’s so ubiquitous that even people who don’t know much about Photoshop can use it to resize their photos, which should give you an indication of how simple it is.
How to Resize Images in Adobe Photoshop? There are simple methods that must be followed to guarantee that image size and quality are maximized, whether you’re downscaling to share images online or upscaling to generate larger prints than are possible at the native resolution of your camera. And in this tutorial on how to resize photos in Photoshop, we’ve got you covered.
Table of Contents
In this post, we will show how to resize images in Adobe Photoshop in a simple way.
How to Reduce the Size of an Image in Adobe Photoshop?
1. Open the image resize box
To resize an image, go to Image>Image Size or press Ctrl+Alt+I to bring up the Image Size dialogue box. The first thing to check is that the Resample box is ticked; otherwise, as the Width or Height is modified, the Resolution will increase, and the image will effectively retain the same size.
You can select ‘Automatic’ or ‘Bicubic Sharper (reduction)’ from the dropdown box next to Resample. Next, make sure the proper unit of measurement is selected – we used Pixels in this case – and then reduce the image’s longest edge’s size.
2. Set the color space
For example, if you’re sharing an image online, sRGB is the ideal color space to use, whereas for print, Adobe RGB 1998 is the greatest choice. Because SRGB has fewer colors than Adobe RGB 1998, it’s usually advisable to save camera JPEGs or output processed Raw files in the latter and then convert them to sRGB when sharing photographs online. Go to Edit>Convert to Profile to adjust the color space.
If you’re sharing an image online, leave all of the default settings but change the Destination Space to sRGB IEC61966-2.1. Leave the color space as Adobe RGB 1998 if you’re printing the image and simply shrinking the file size.
Also read – How to Stream Netflix on Discord with Friends to Watch TV Shows and Movies (2021)
3. Save a copy
It’s always a good idea to save a copy of an image when resizing it so that the original isn’t affected. Go to File>Save As or use the shortcut Ctrl+Shift+S to save a new version of a file. Set the file name to something that depicts the scaled image to make it clear that this is the revised version when the dialogue box appears, which in our example was 1000px added to the original file name.
Using the file tree on the left side of the Save As menu, choose your chosen save location and file type. Because the scaled file will either be preserved long-term or erased once shared, JPEG is the best file format in most cases.
How to Increase Image Size in Adobe Photoshop?
1. Check the resolution
To enter the Image size dialogue, go to Image>Image Size or press Ctrl+Alt+I, and make sure the Resample option is checked so that the resolution remains the same as the Width or Height is increased. If the Resolution is set to anything other than 300 Pixels/Inch when expanding prints, click Resample off and type 300 into the box before clicking Resample back on.
This ensures that the Width, Height, and Resolution are all linked, allowing the picture dimensions to adjust to the resolution selected before increasing the image size on the longest edge in the next step.
2. Increase size
When expanding images, set Resample to ‘Preserve Details 2.0’ because this delivers the best results. Because the image isn’t pushed too far, you can produce great results by increasing the photos by up to 100% while maintaining detail and clarity. You can increase the image size even further, but keep in mind that the higher you go, the lower the overall image quality will become.
The long edge (Width) measurement was set at inches with this image, so that the Width could be extended to 30 inches and a 30×20-inch print could be produced. After you’ve entered the new long edge amount, adjust the Minimize Noise slider to reduce grain before pressing OK.
3. Sharpen Your Image
Because enlarging photographs softens them significantly, we can use the Camera Raw Filter to restore the original sharpness. Go to Filter>Camera Raw Filter and select the Detail tab when the dialogue box appears. If you’re a beginner, set the Sharpening Slider to between 20 and 40 and leave the other sliders alone.
You can apply more specific sharpness if you understand how the other sliders function. Finally, save a new copy of the image as a JPEG in the chosen location on your computer, using a name that identifies it as an enlarged version of the original, by going to File>Save As or using the shortcut Ctrl+Shift+S.
ALSO READ: How To Transfer Data From Android To iPhone
How To Record A Microsoft Teams Meeting
